Filter
The Filter module provides GPU-accelerated image filtering operations.
Gaussian Blur
Apply Gaussian blur using a separable kernel (horizontal then vertical pass).
Example - Light Blur:
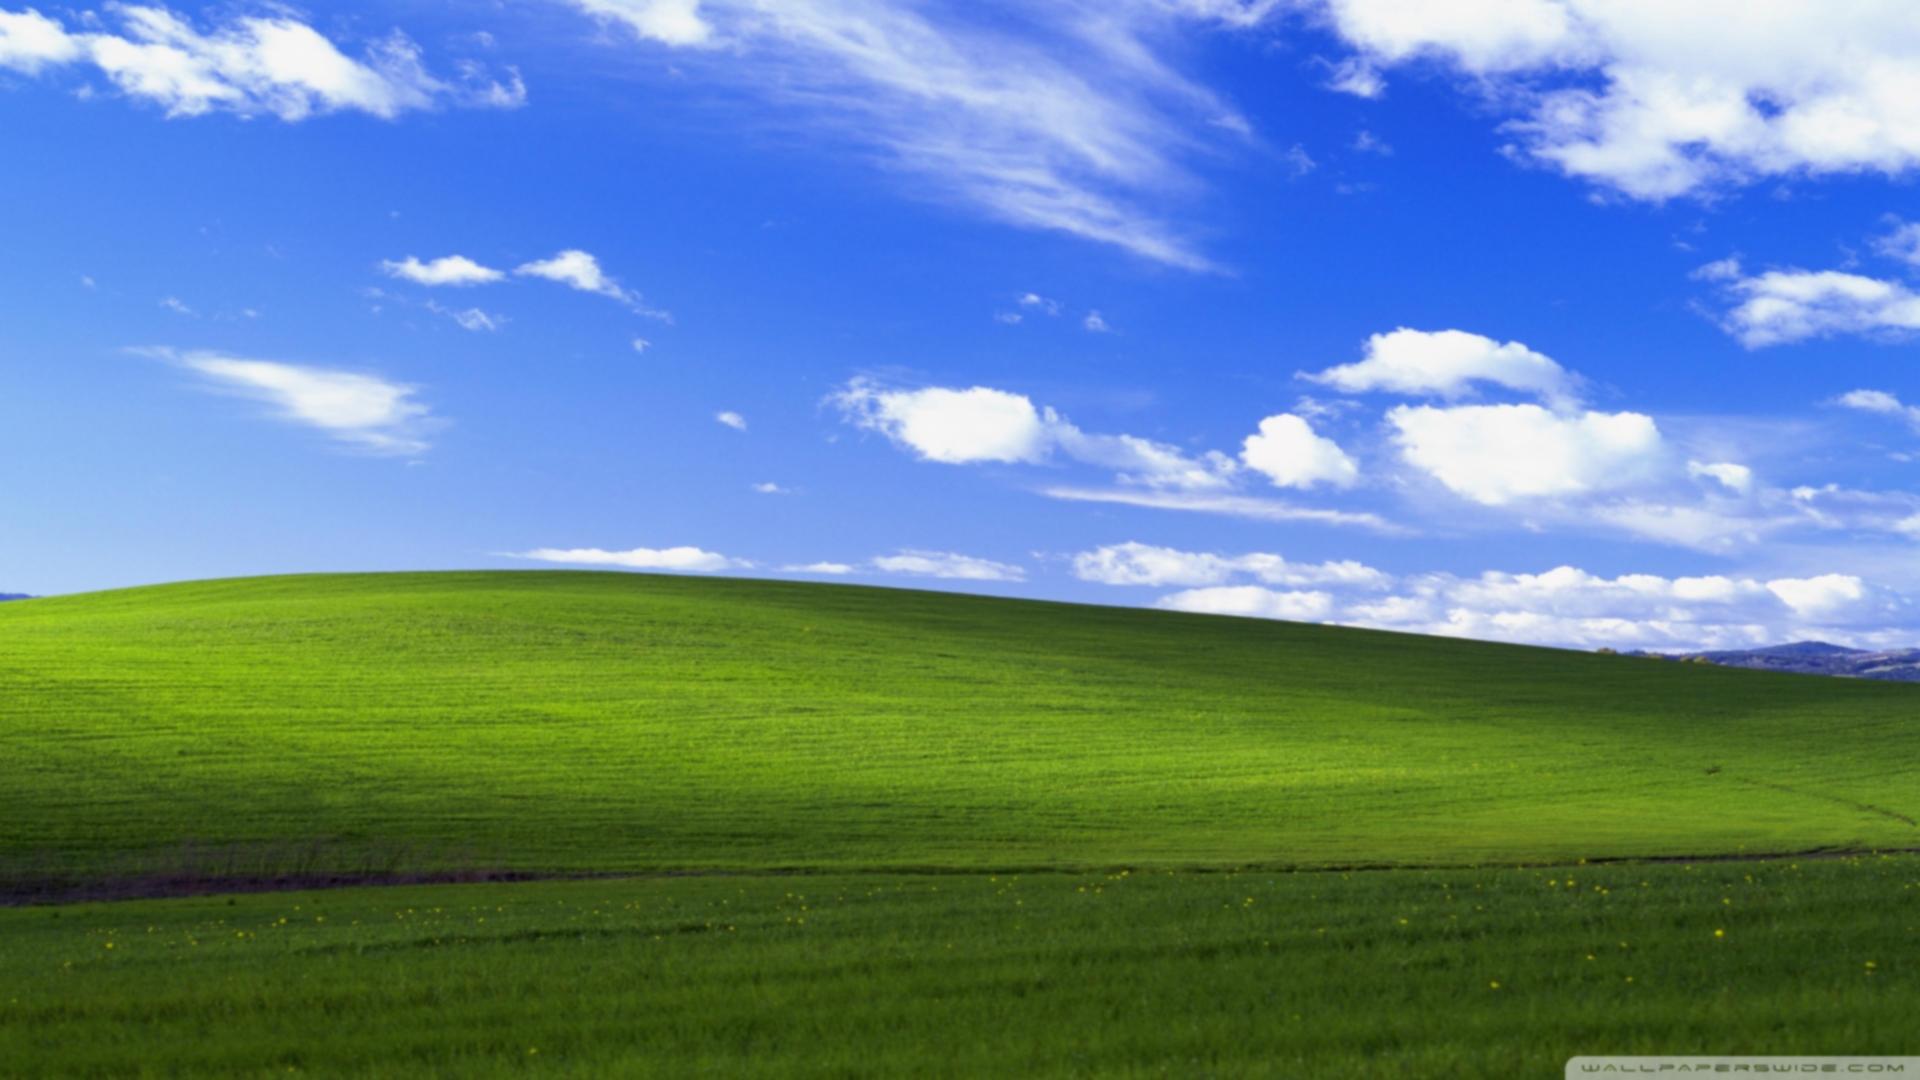
Right-click to download and compare in full size
Example - Heavy Blur:
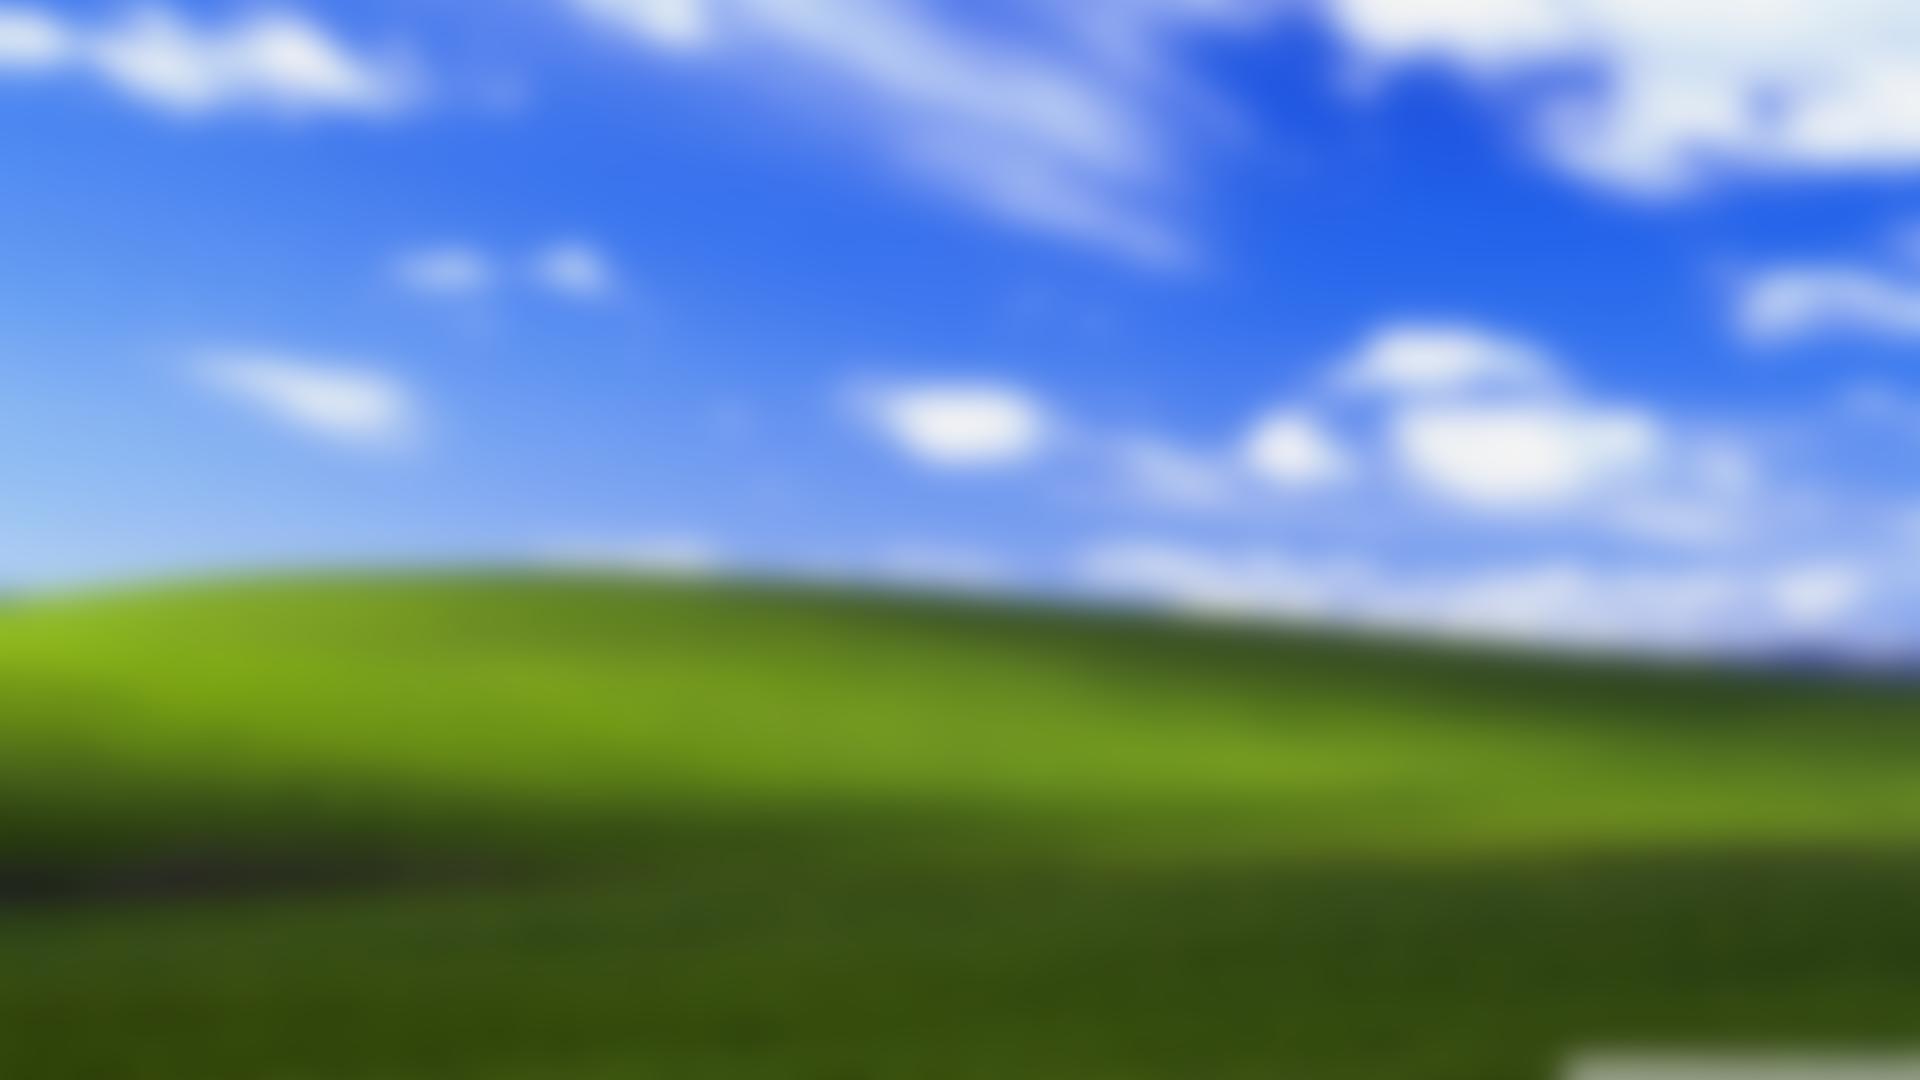
Right-click to download and compare in full size
Parameters:
src(Image): Source imageradius(int): Blur kernel radius in pixels (default: 3)sigma(float | None): Gaussian sigma value, auto-calculated if None (default: radius / 3.0)dst_buffer(Image | None): Optional output buffer (default: None)temp_buffer(Image | None): Optional temporary buffer for separable convolution (default: None)
Returns: Blurred image (or None if dst_buffer provided)
Note: temp_buffer is used internally for the separable convolution (horizontal pass). Both buffers must have sufficient capacity.
Sharpen
Enhance image edges and details using unsharp mask.
Example - Subtle Sharpening:

Right-click to download and compare in full size
Example - Strong Sharpening:

Right-click to download and compare in full size
Parameters:
src(Image): Source imagestrength(float): Sharpening intensity (default: 1.0)dst_buffer(Image | None): Optional output buffer (default: None)
Returns: Sharpened image (or None if dst_buffer provided)
Recommended values: 1.0-1.5 for photos. Higher values work for specific effects but may introduce artifacts.
Sepia
Apply a warm sepia tone effect to give images a vintage, antique look.
Example - Full Sepia:
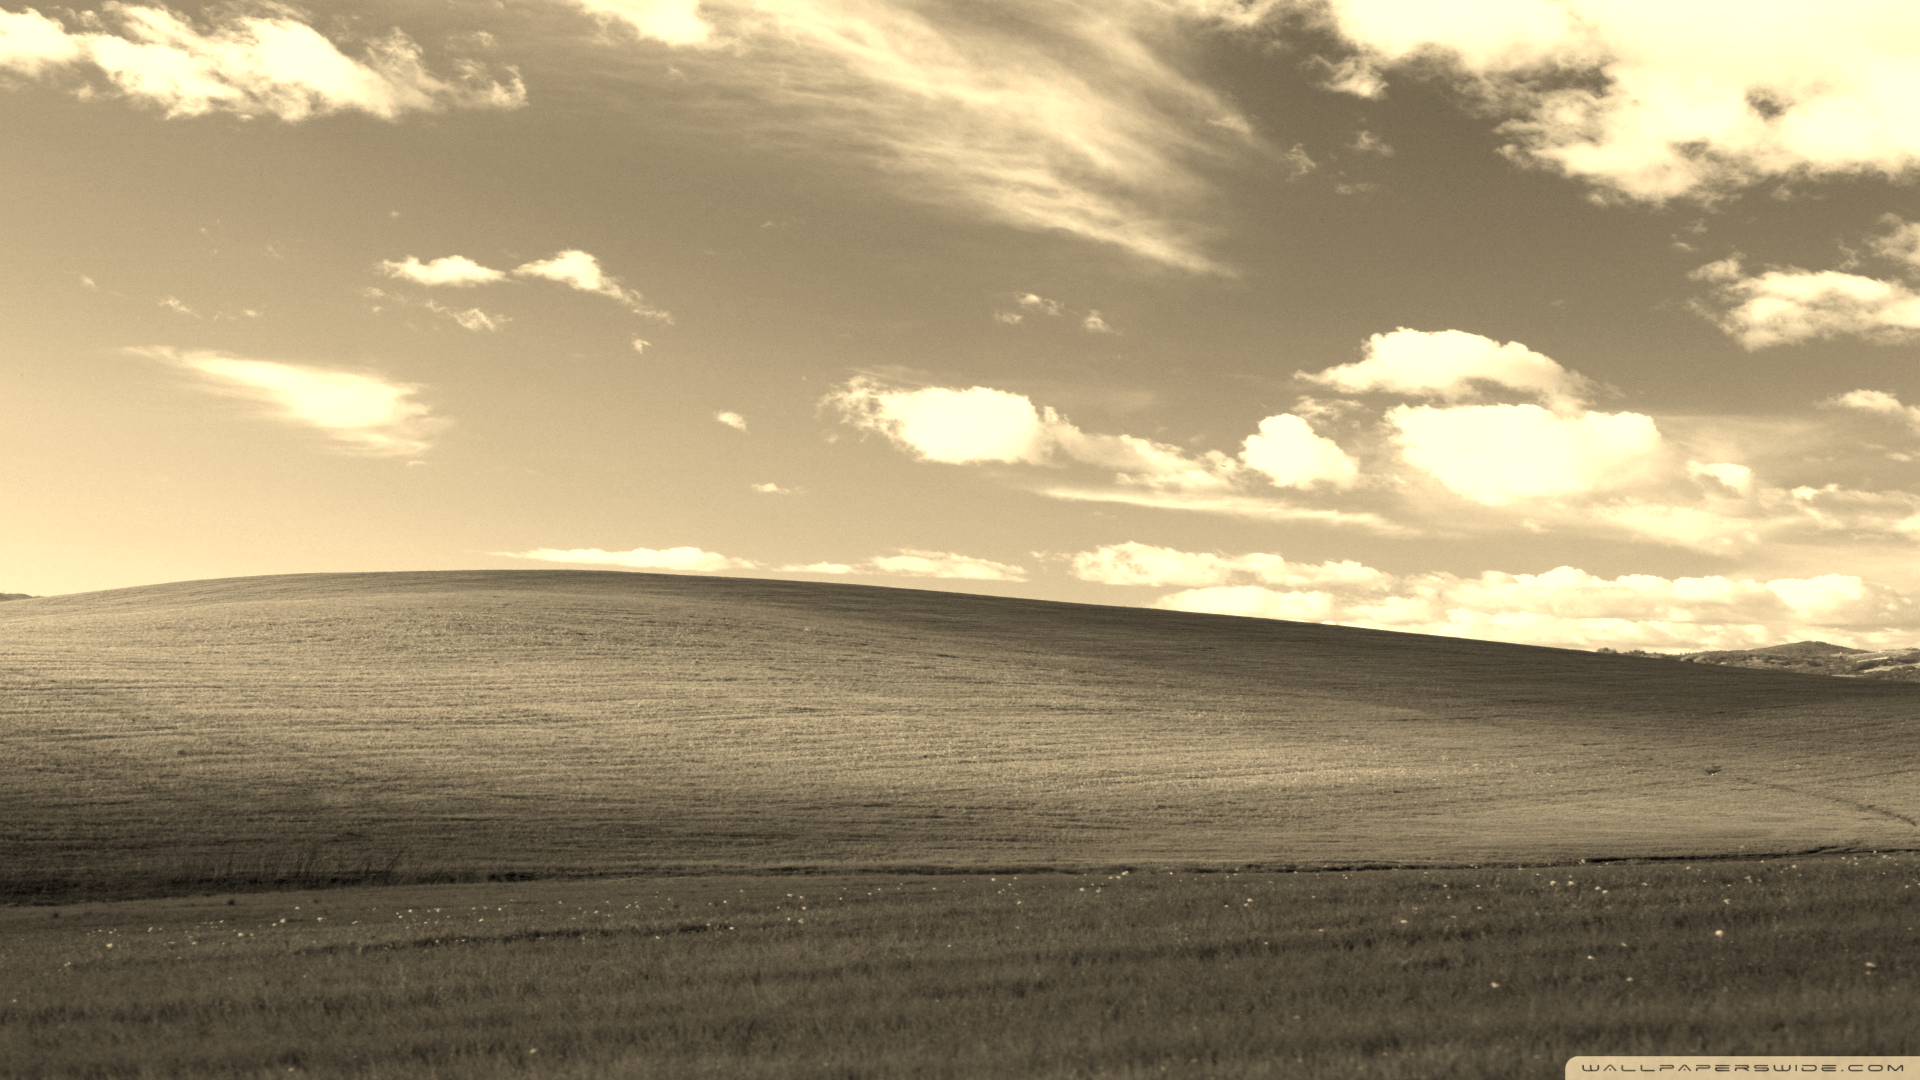
Right-click to download and compare in full size
Example - Subtle Sepia:
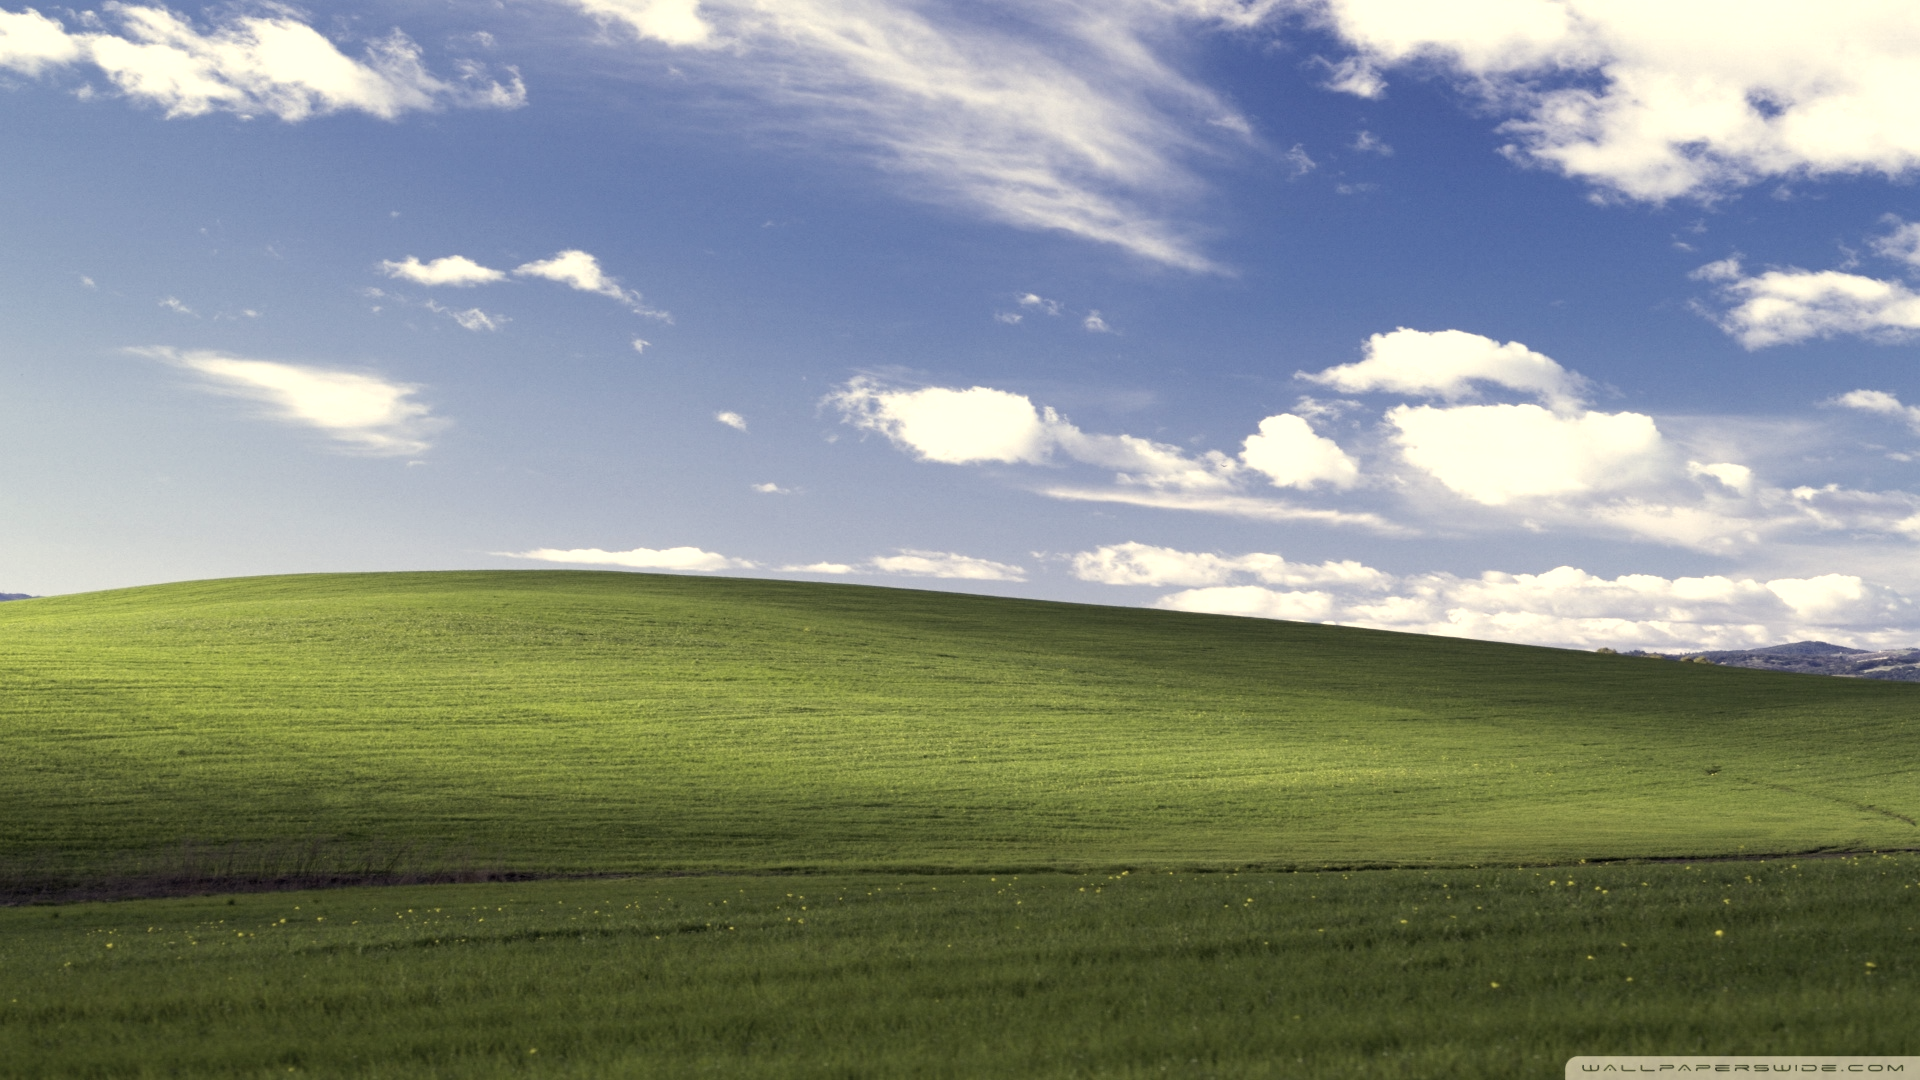
Right-click to download and compare in full size
Parameters:
image(Image): Image to modify (in-place)intensity(float): Effect intensity from 0.0 (no effect) to 1.0 (full sepia) (default: 1.0)
Returns: None (modifies image in-place)
Invert
Invert all colors to create a photographic negative effect.
Example:
Right-click to download and compare in full size
Parameters:
image(Image): Image to modify (in-place)
Returns: None (modifies image in-place)
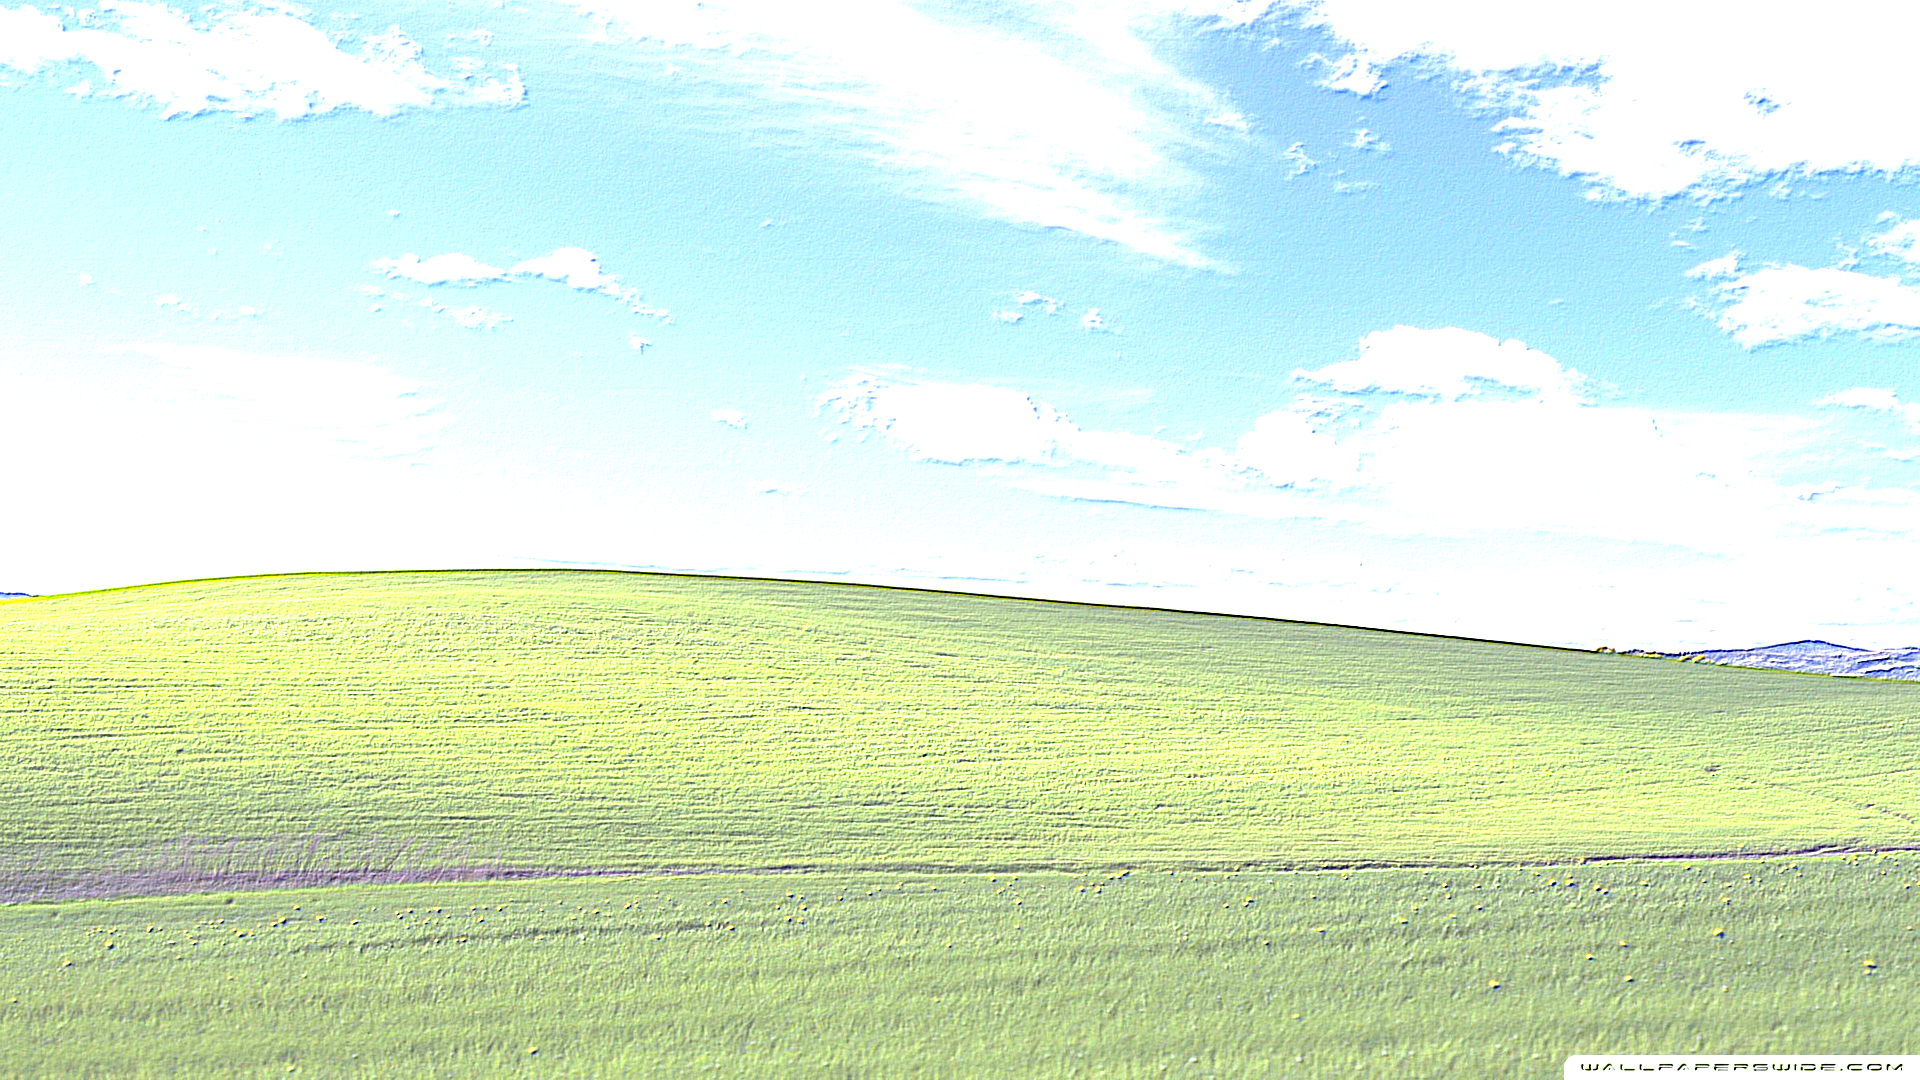
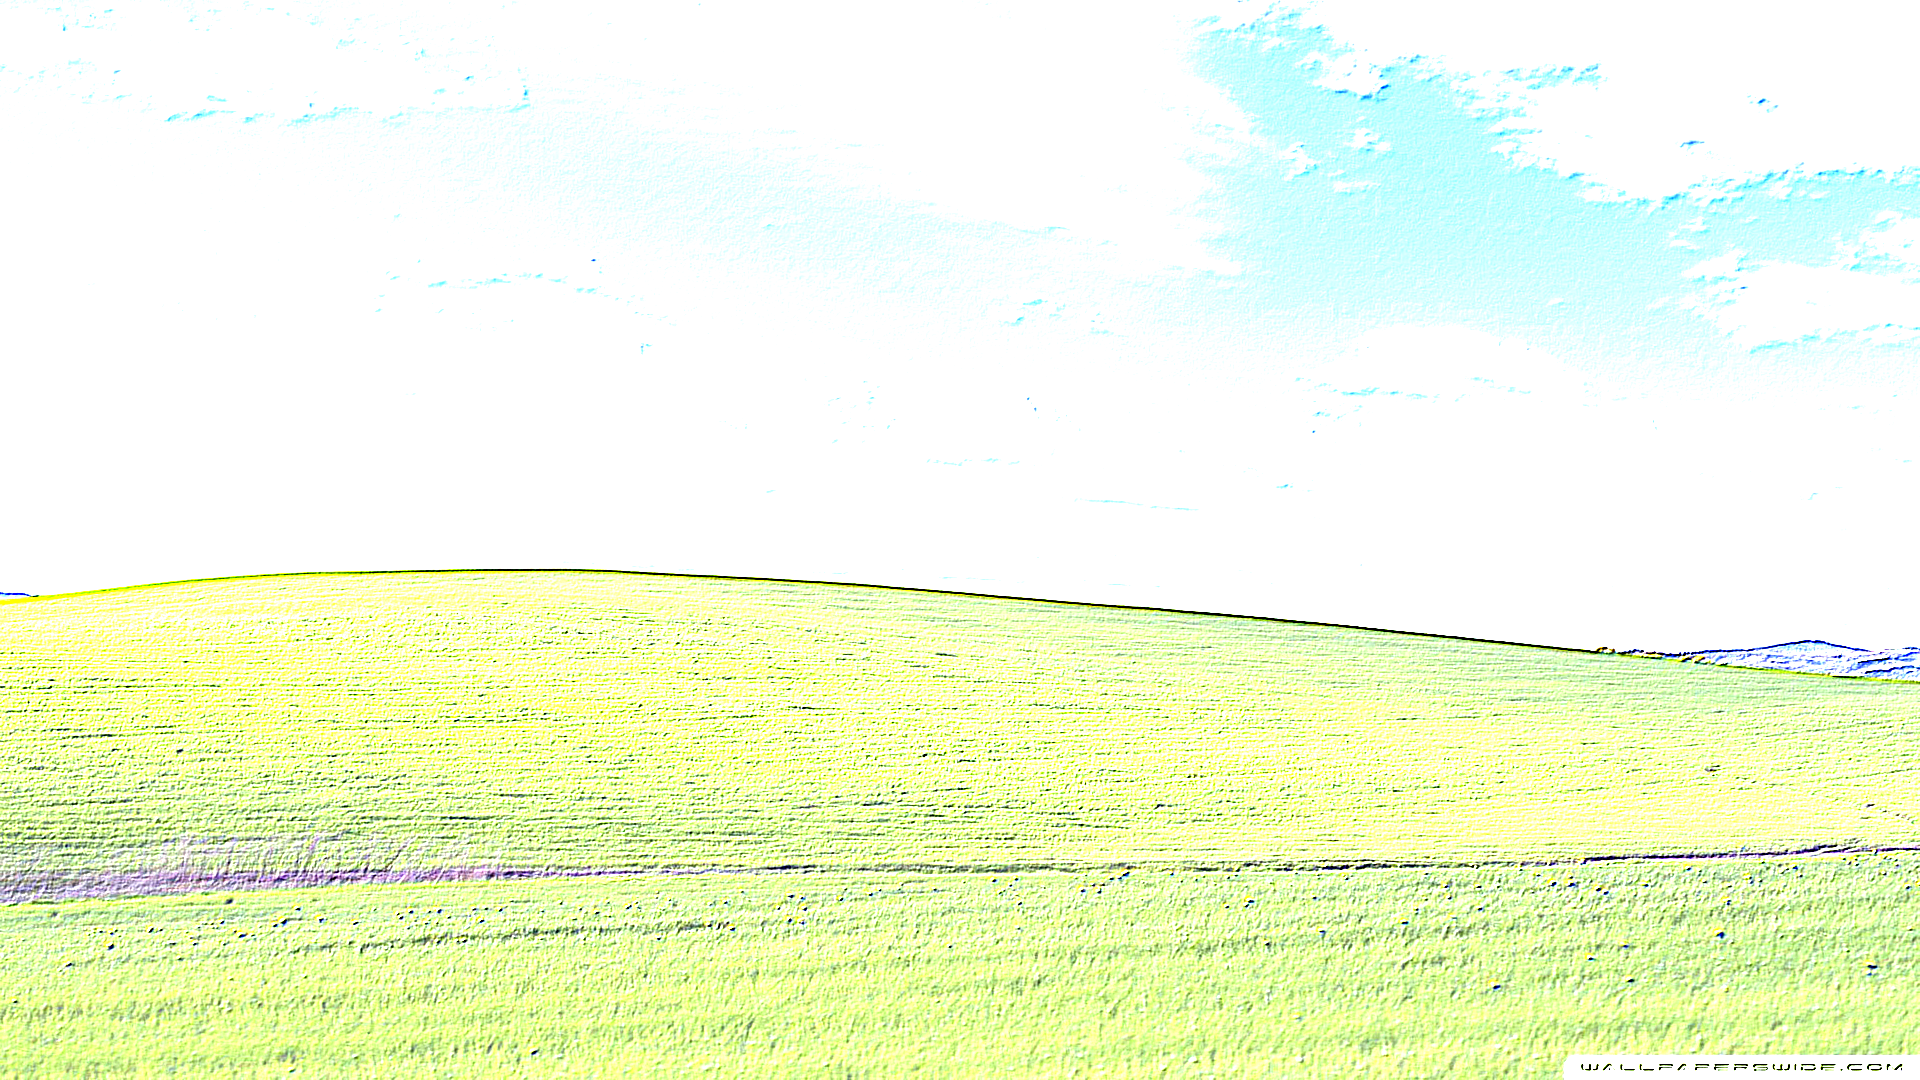
Threshold
Convert image to pure black and white based on luminance threshold.
Example - Medium Threshold:
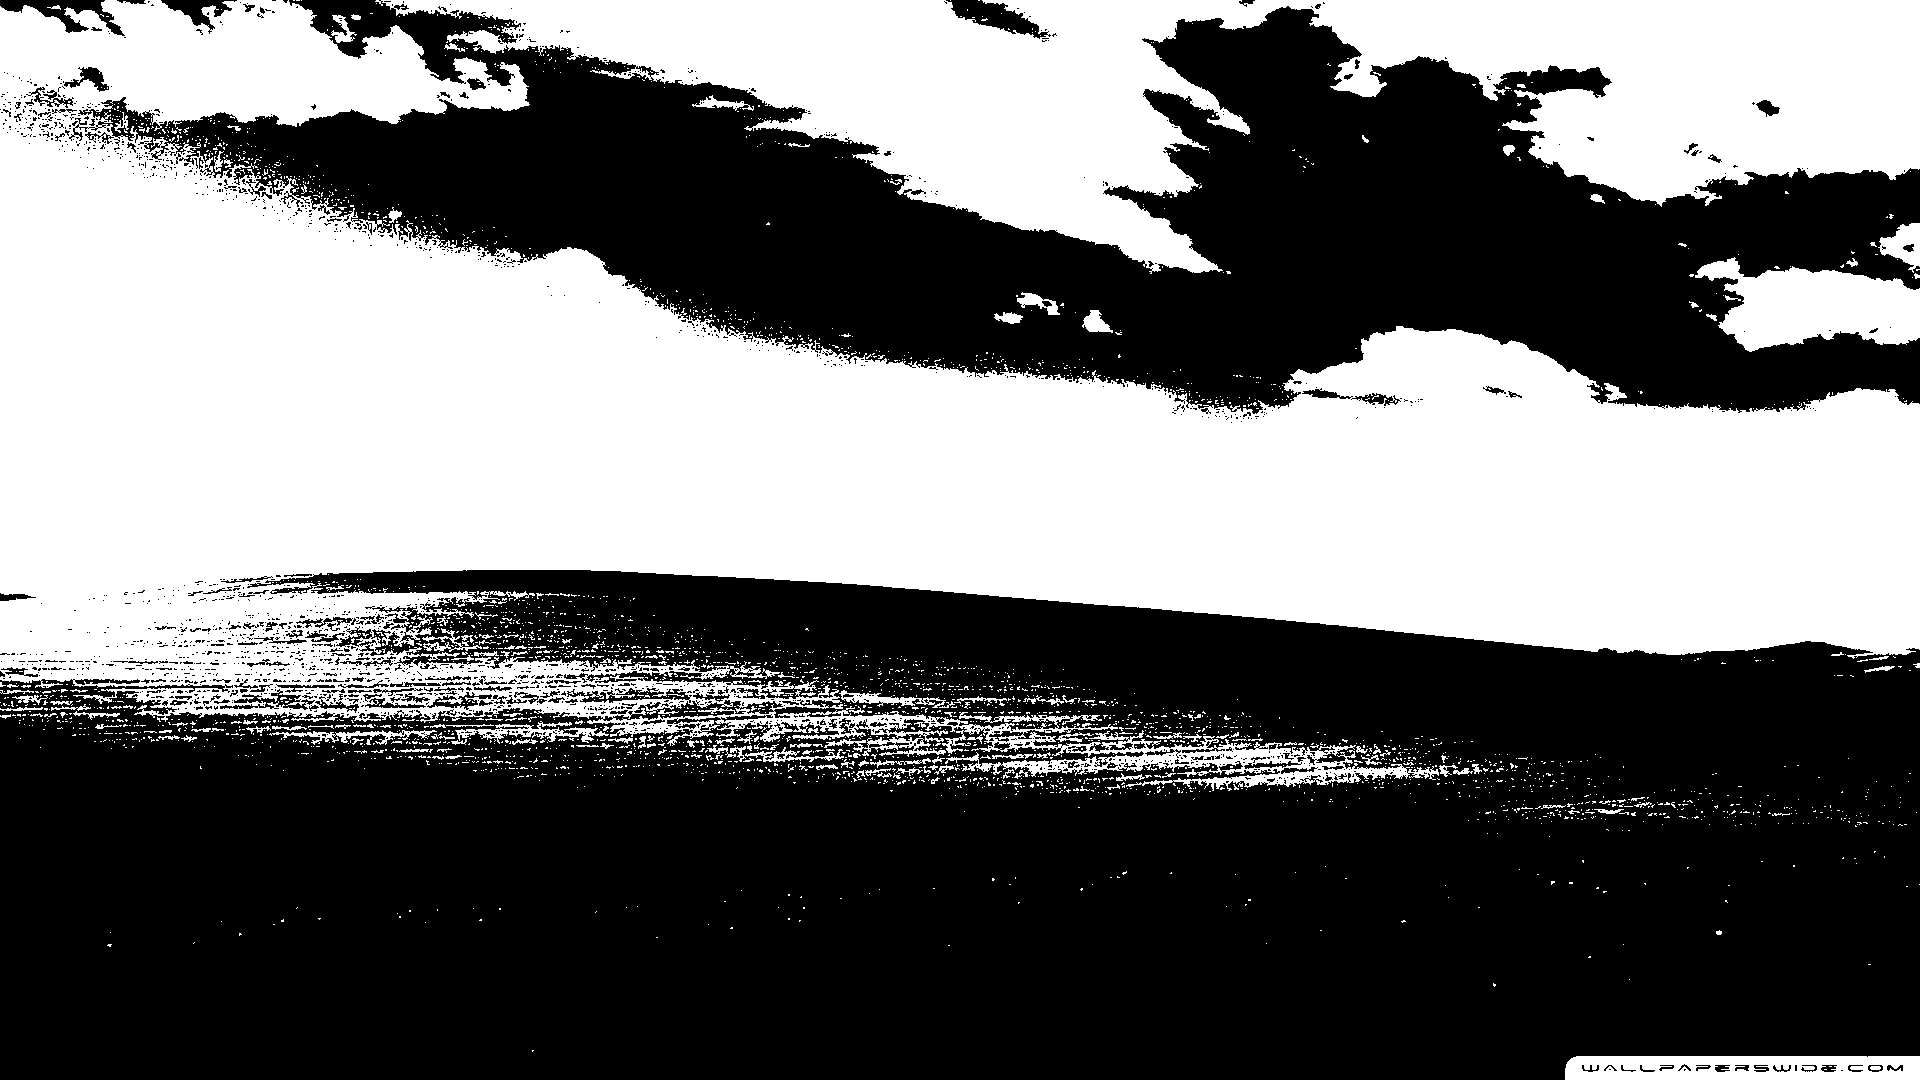
Right-click to download and compare in full size
Example - Low Threshold (More White):
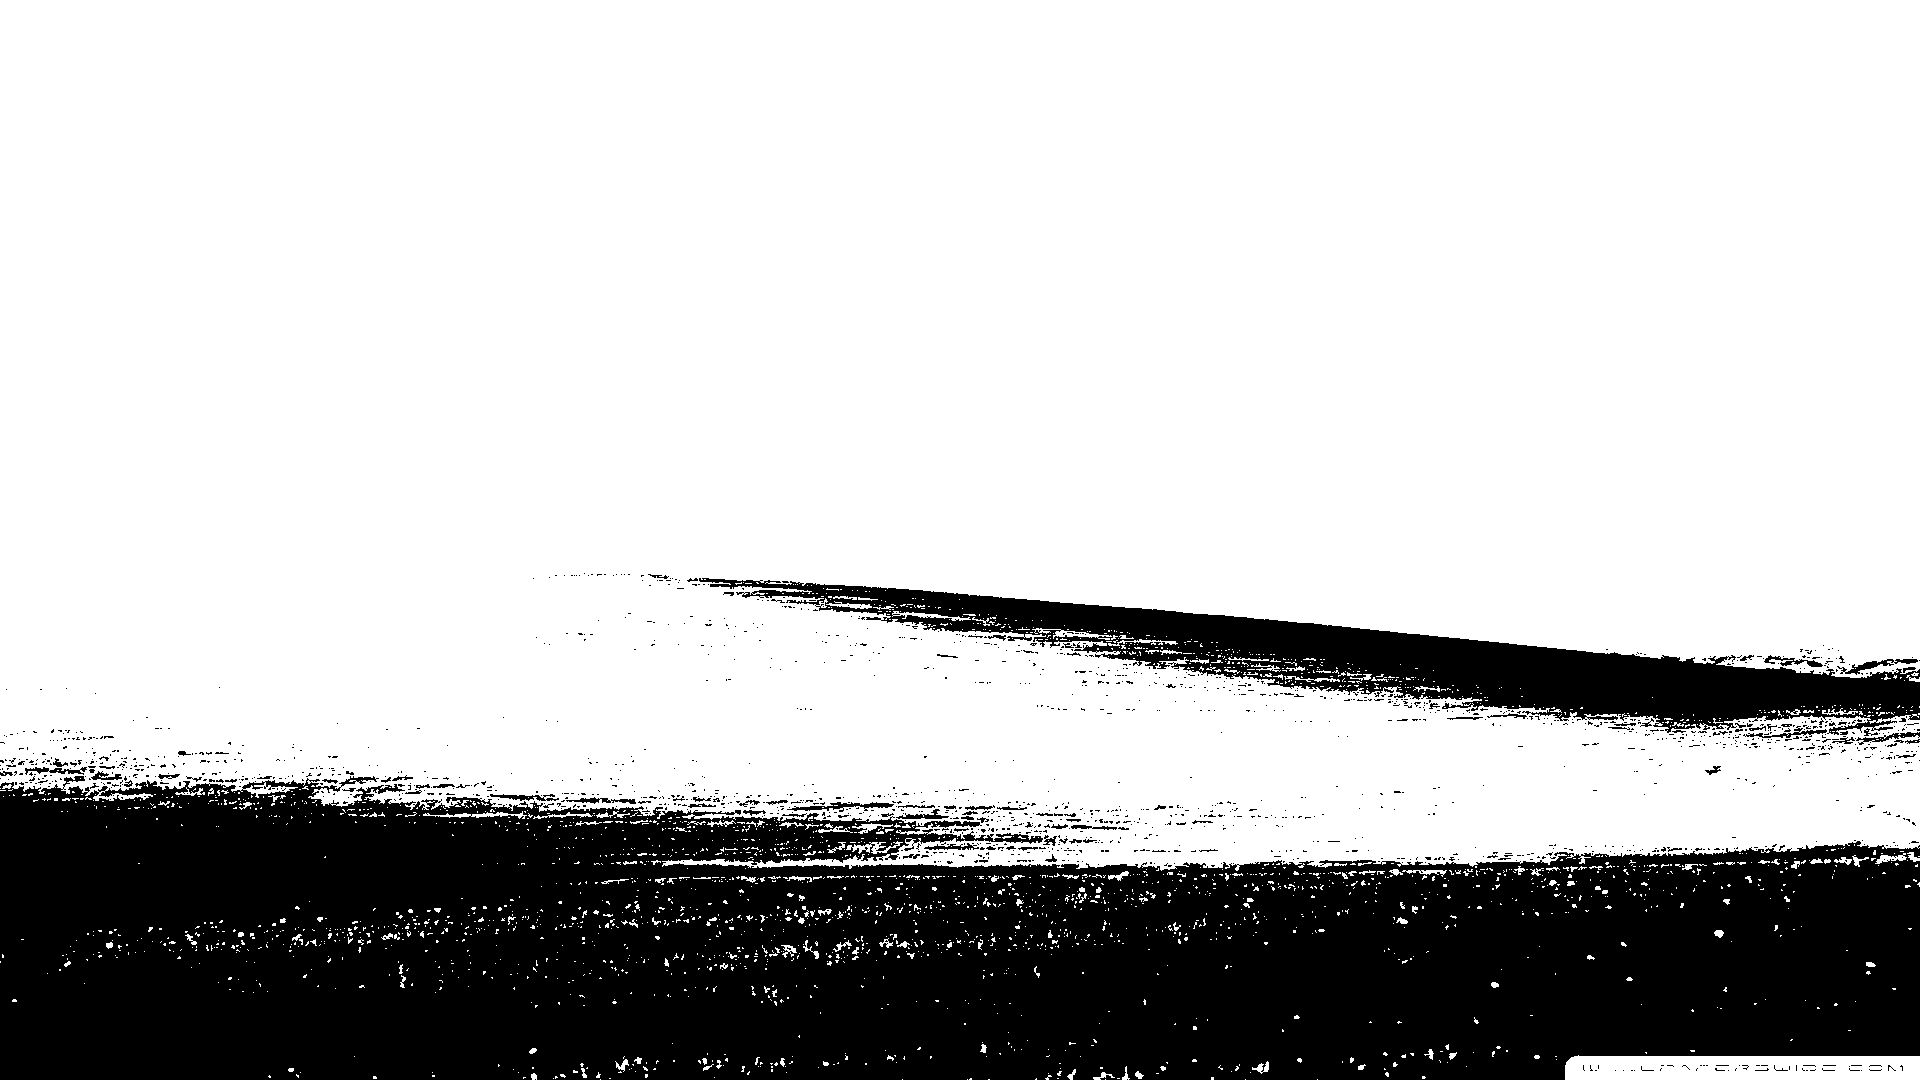
Right-click to download and compare in full size
Parameters:
image(Image): Image to modify (in-place)value(float): Threshold value from 0.0 to 1.0 (default: 0.5)
Returns: None (modifies image in-place)
Behavior: Pixels brighter than the threshold become white, others become black. Lower values produce more white areas; higher values produce more black areas.
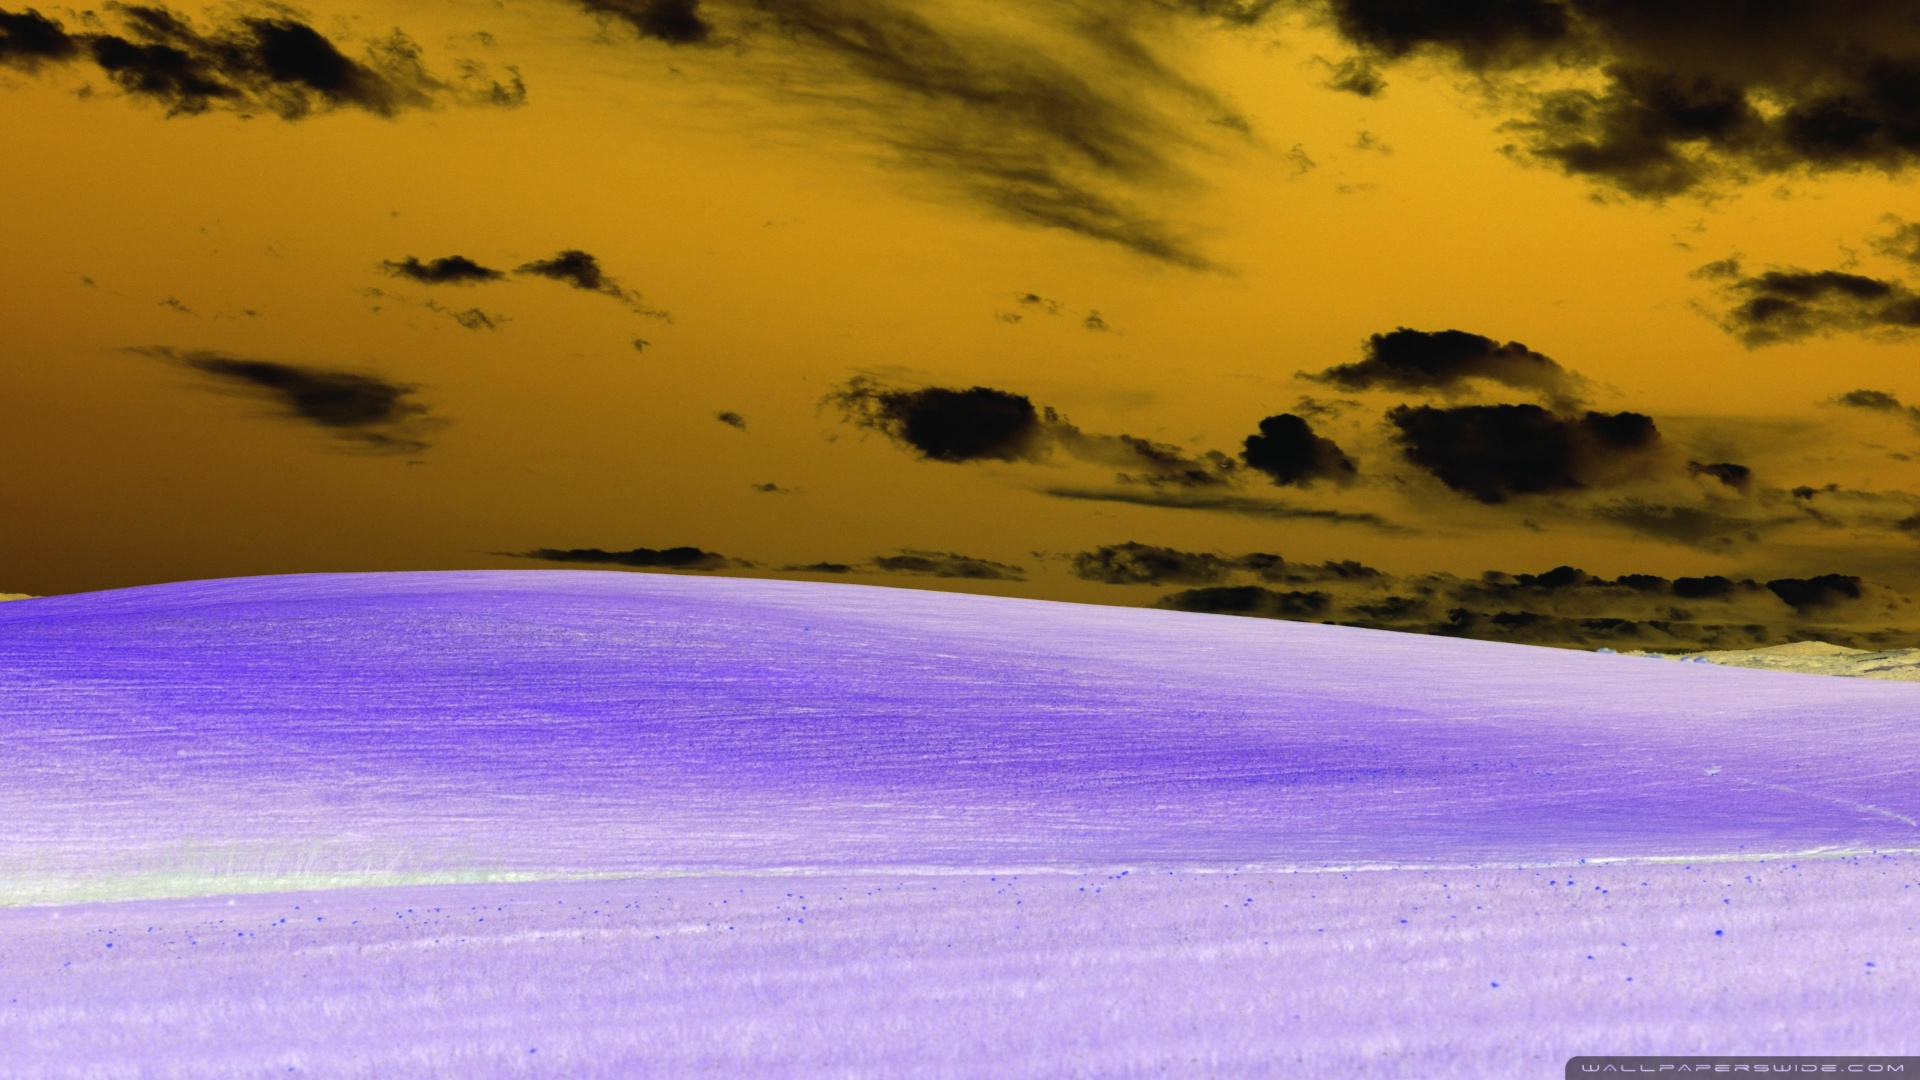
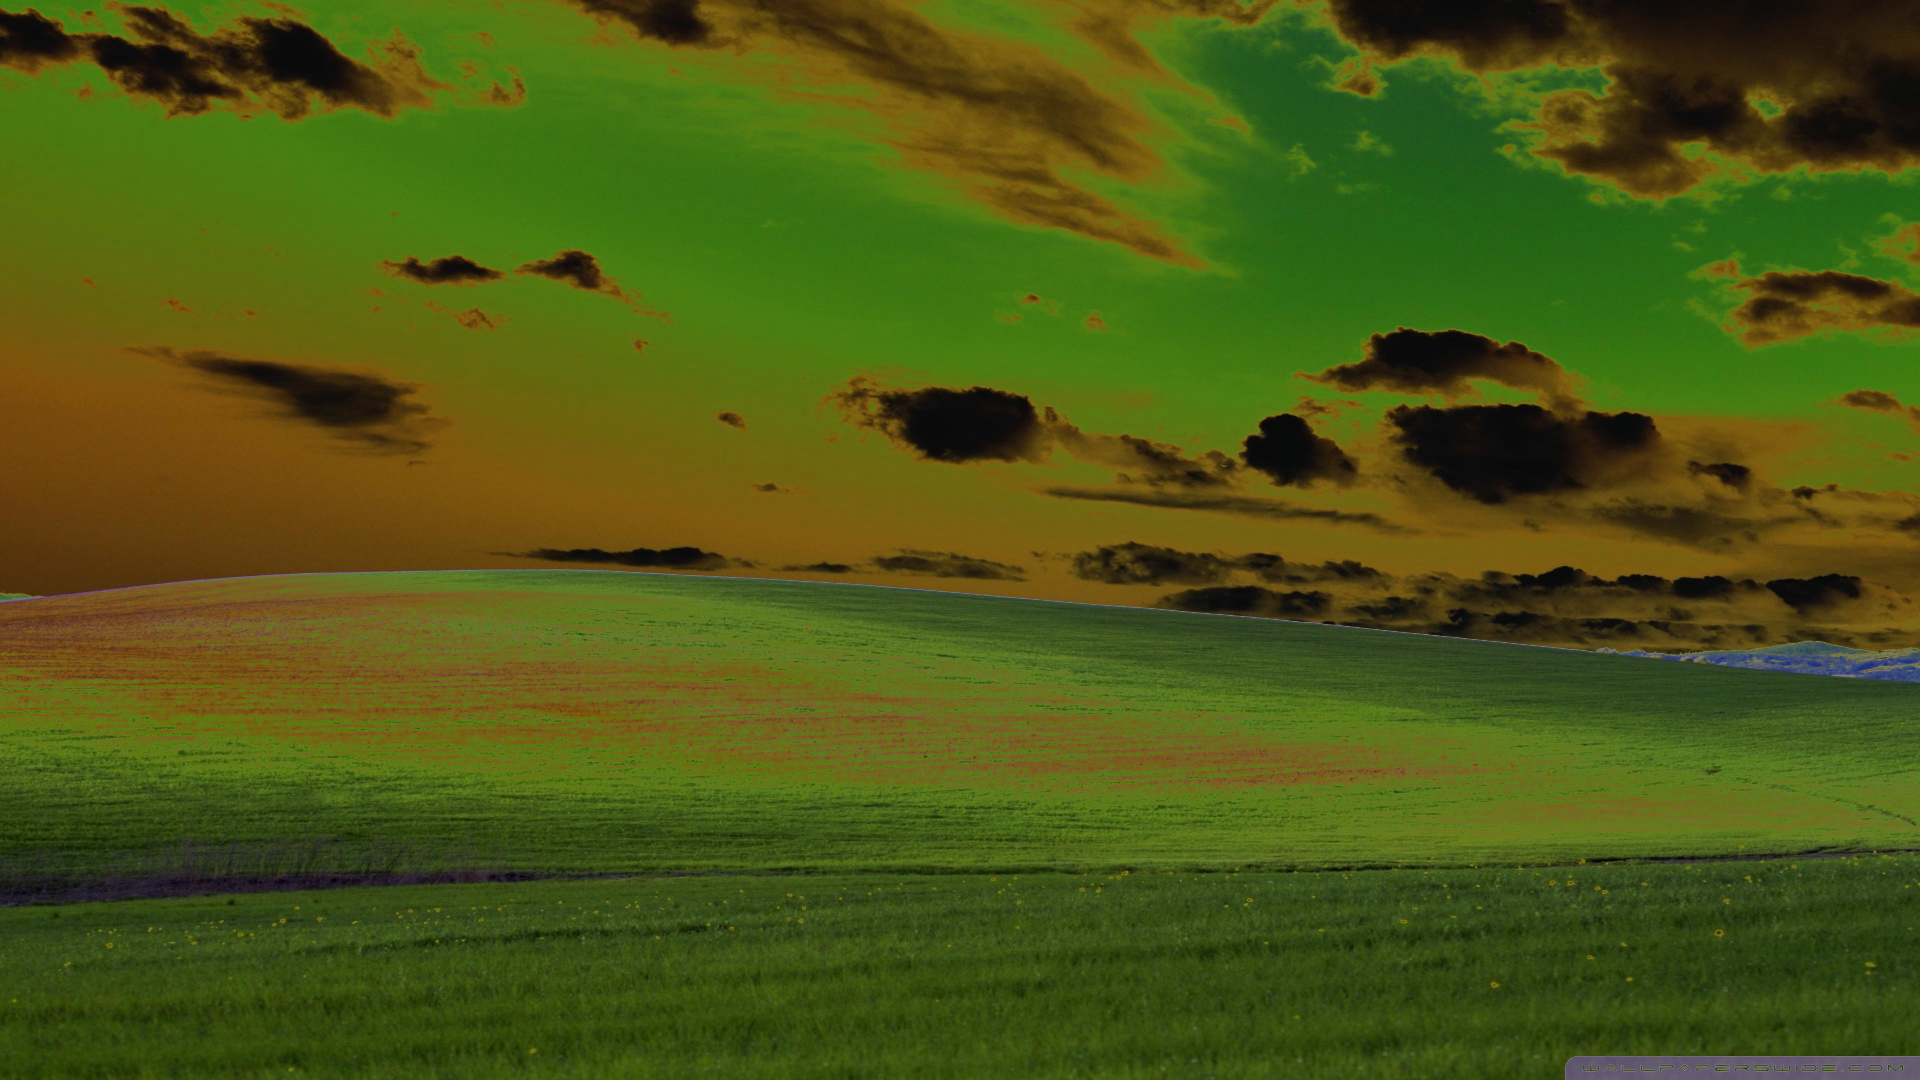
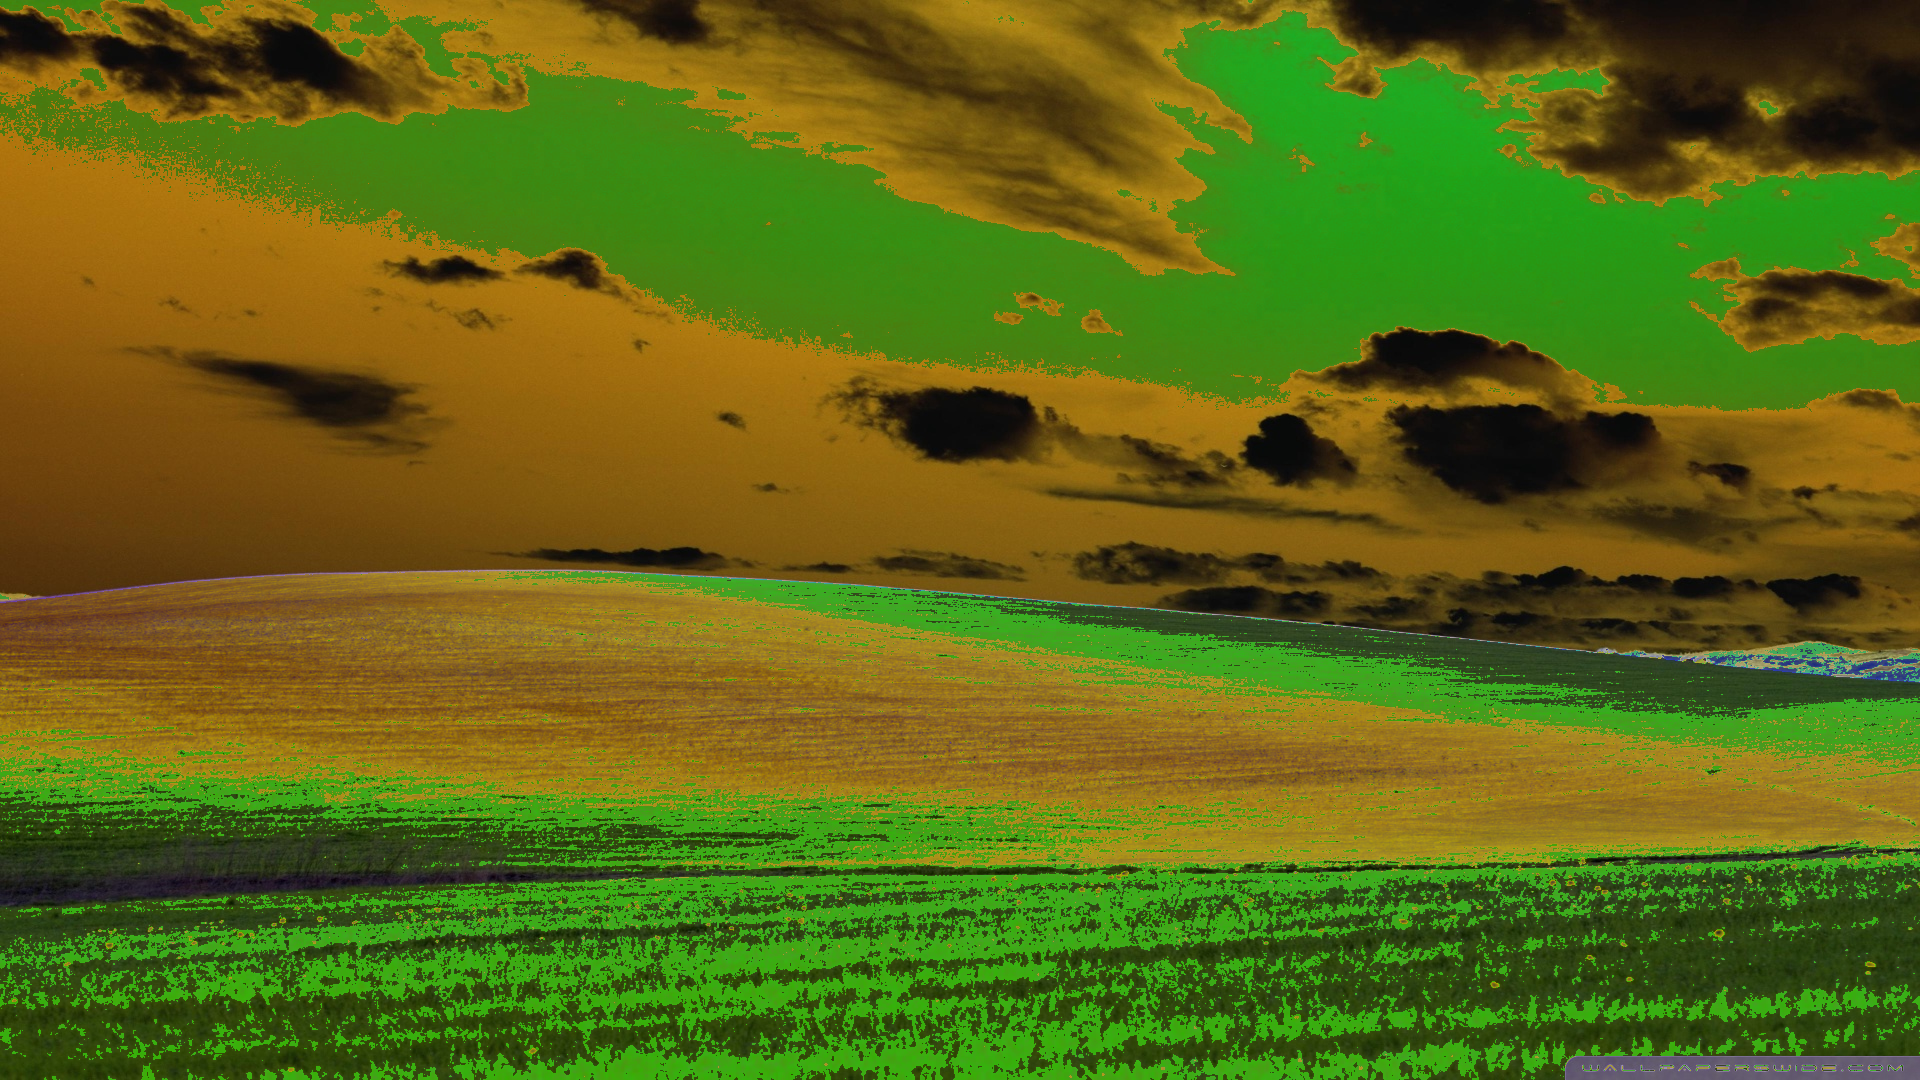
Solarize
Create a psychedelic effect by inverting colors above a luminance threshold.
Example - Medium Threshold:
Right-click to download and compare in full size
Example - Low Threshold:
Right-click to download and compare in full size
Parameters:
image(Image): Image to modify (in-place)threshold(float): Luminance threshold from 0.0 to 1.0 (default: 0.5)
Returns: None (modifies image in-place)
Behavior: Only pixels brighter than the threshold are inverted, creating a distinctive retro/psychedelic look.
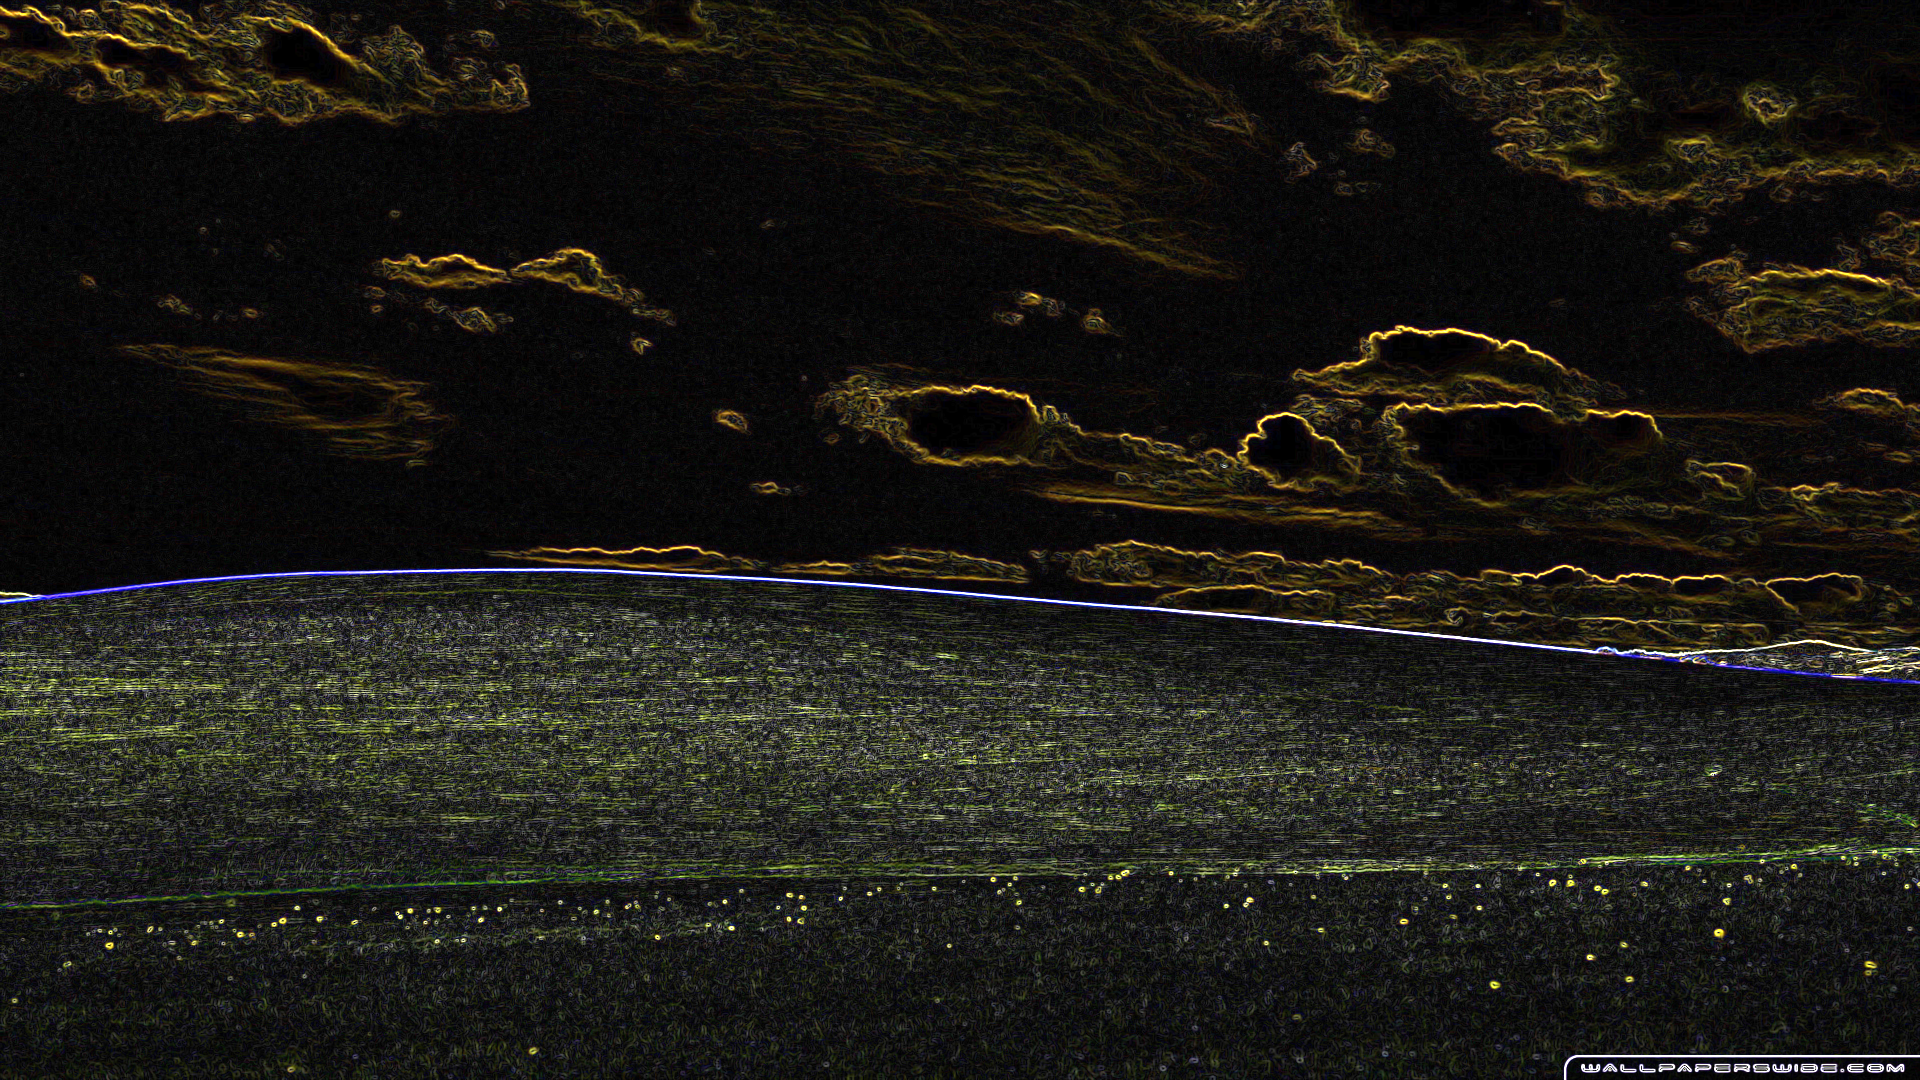
Sobel
Detect edges using the Sobel operator to create an edge map.
Example:
Right-click to download and compare in full size
Parameters:
src(Image): Source imagedst_buffer(Image | None): Optional output buffer (default: None)
Returns: New image with detected edges (or None if dst_buffer provided)
Output: Black and white image where white indicates detected edges.
Emboss
Apply an emboss (relief) effect to create a 3D raised appearance.
Example - Normal Strength:
Right-click to download and compare in full size
Example - Strong Emboss:
Right-click to download and compare in full size
Parameters:
src(Image): Source imagestrength(float): Effect intensity (default: 1.0)dst_buffer(Image | None): Optional output buffer (default: None)
Returns: New embossed image (or None if dst_buffer provided)
Recommended values: 0.5-2.0 for most images. Higher values create more pronounced relief.
Buffer Reuse
Reuse buffers for batch processing to avoid allocations.
Example:
from pyimagecuda import Image, load, Filter, save

# Pre-allocate buffers with sufficient capacity (e.g. 1920x1080)
dst = Image(1920, 1080)
temp = Image(1920, 1080)

for file in files:
    src = load(file)
    # Buffers automatically adjust their logical dimensions
    # provided they have enough capacity
    Filter.gaussian_blur(src, radius=5,
                         dst_buffer=dst,
                         temp_buffer=temp)
    save(dst, f"blurred_{file}")
    src.free()

dst.free()
temp.free()
When using buffers, operations are in-place (modify dst_buffer directly) and return None. The buffers automatically adjust their logical dimensions to match the operation result, provided they have enough capacity.