Adjust
The Adjust module provides GPU-accelerated color and tone adjustments for images.
All adjust operations modify the image in-place.
Brightness
Adjusts image brightness by adding a factor to all RGB channels.
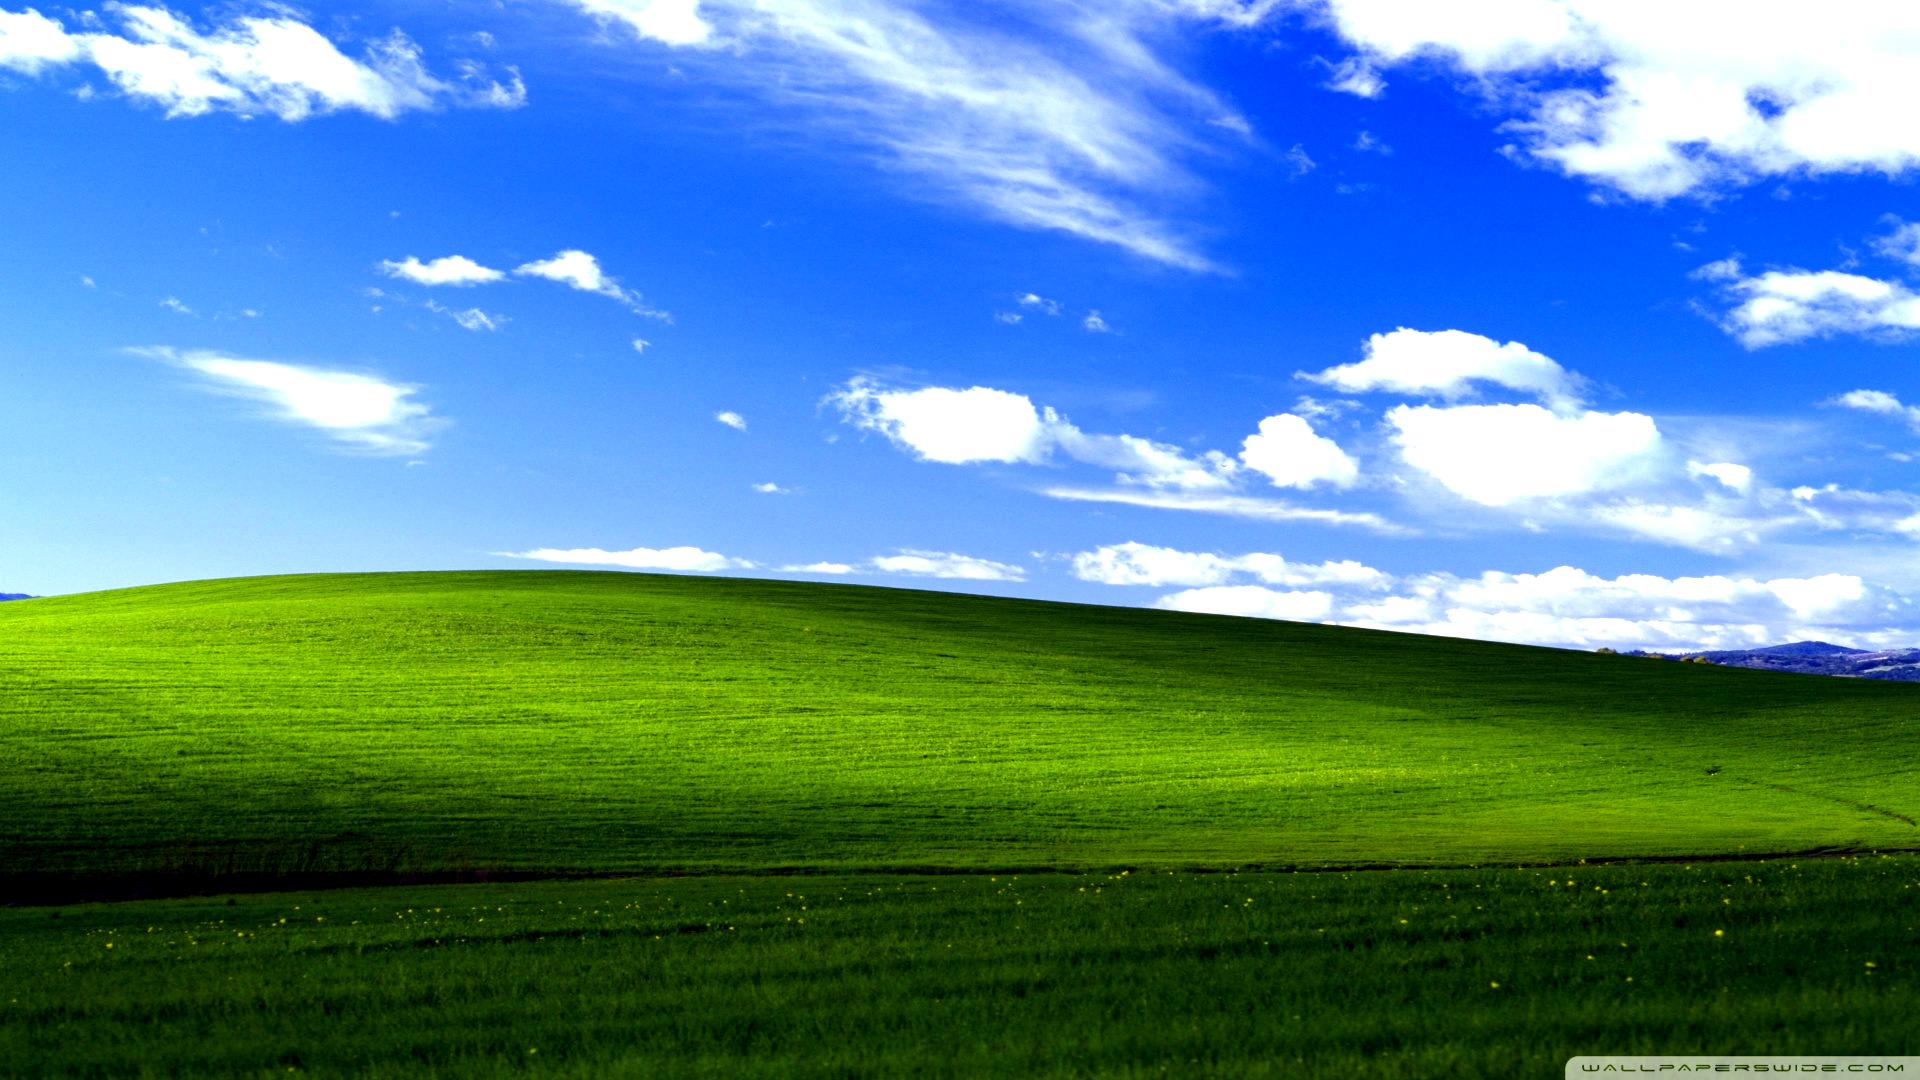
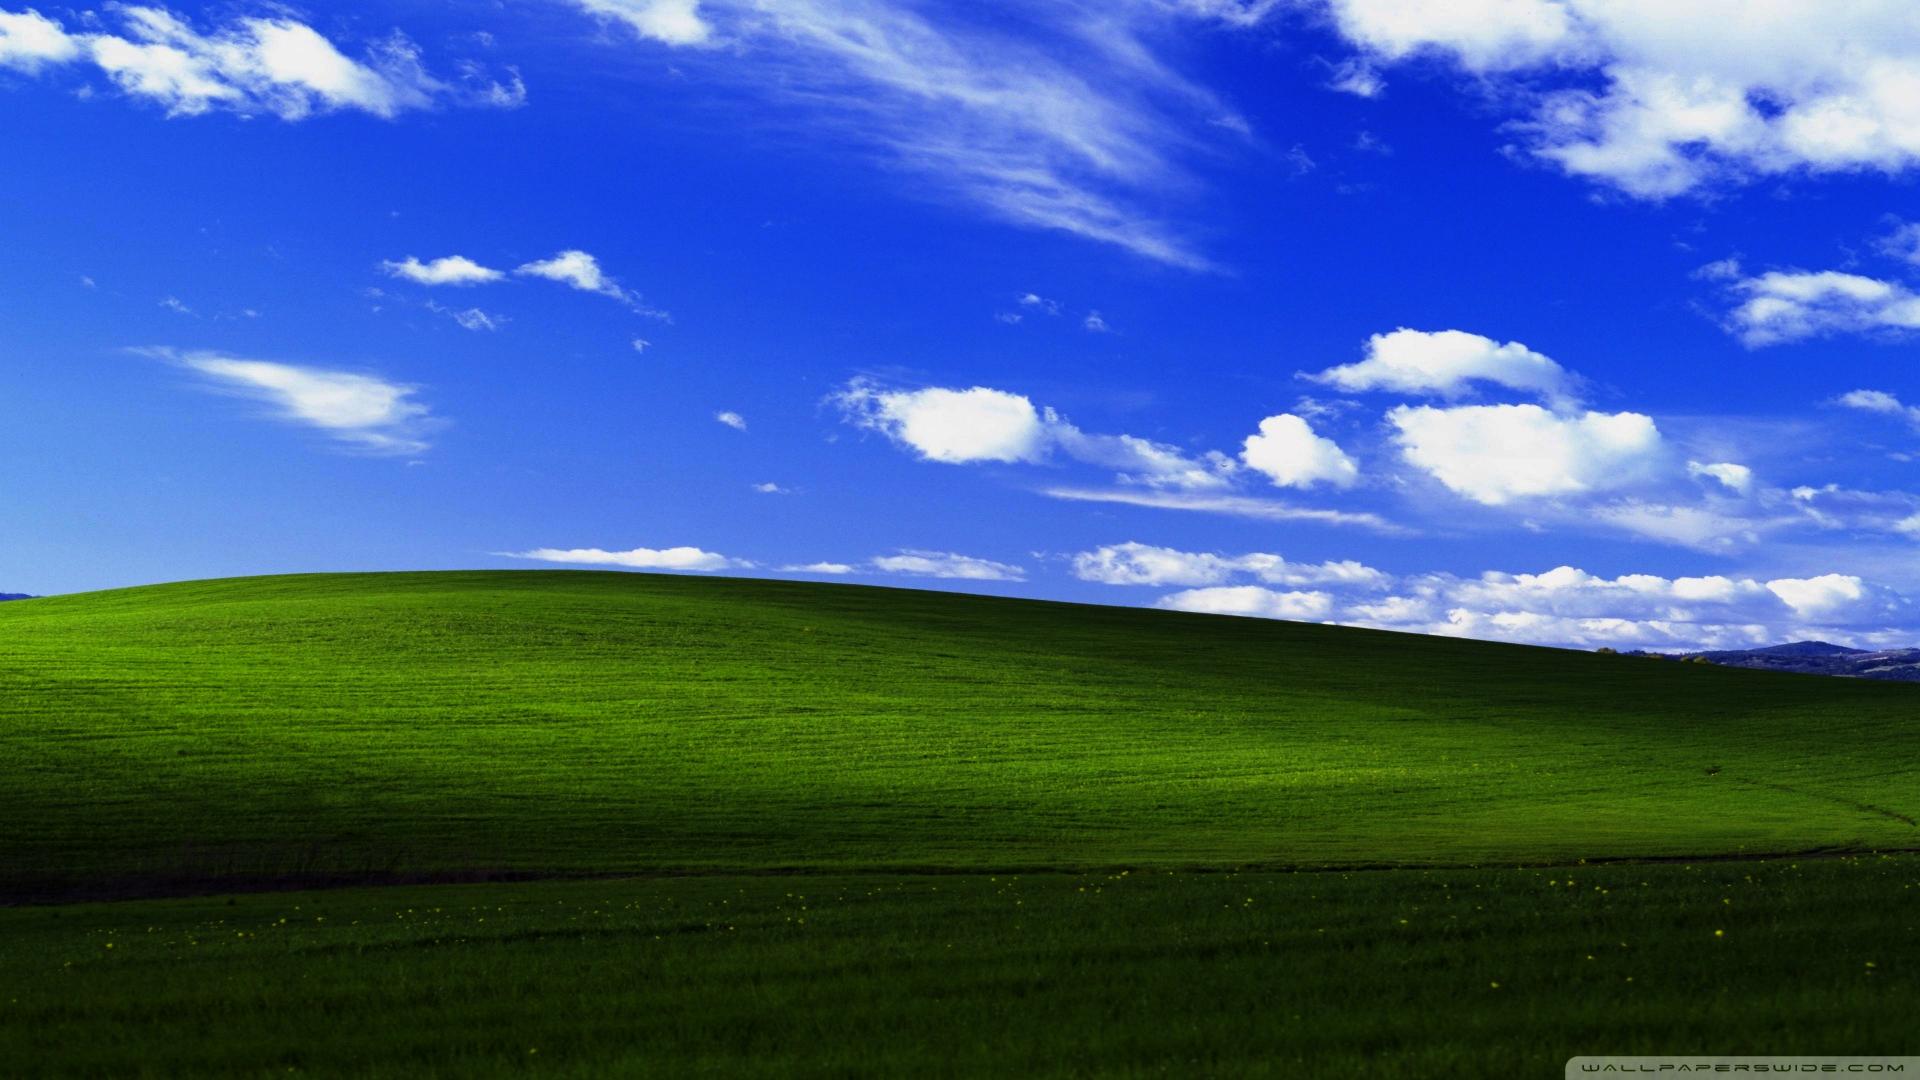
Example - Brighten:

Right-click to download and compare in full size
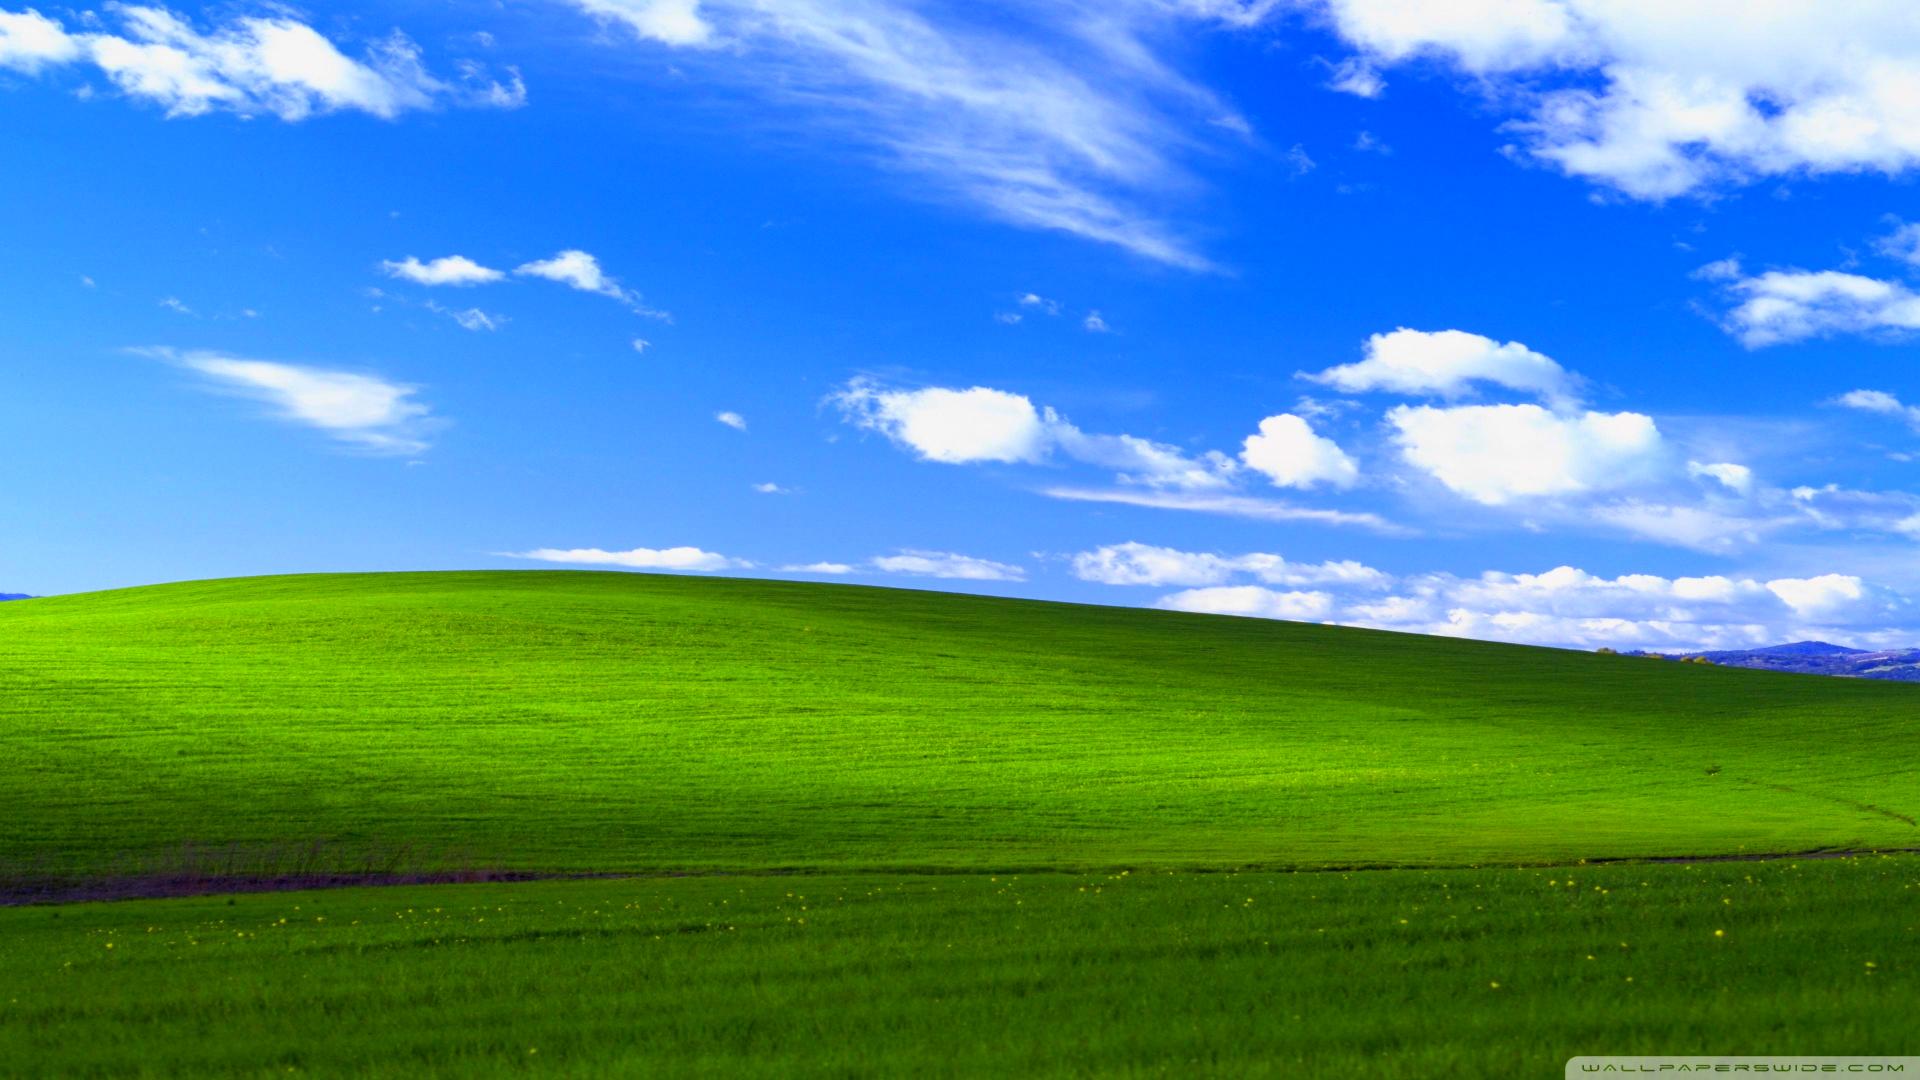
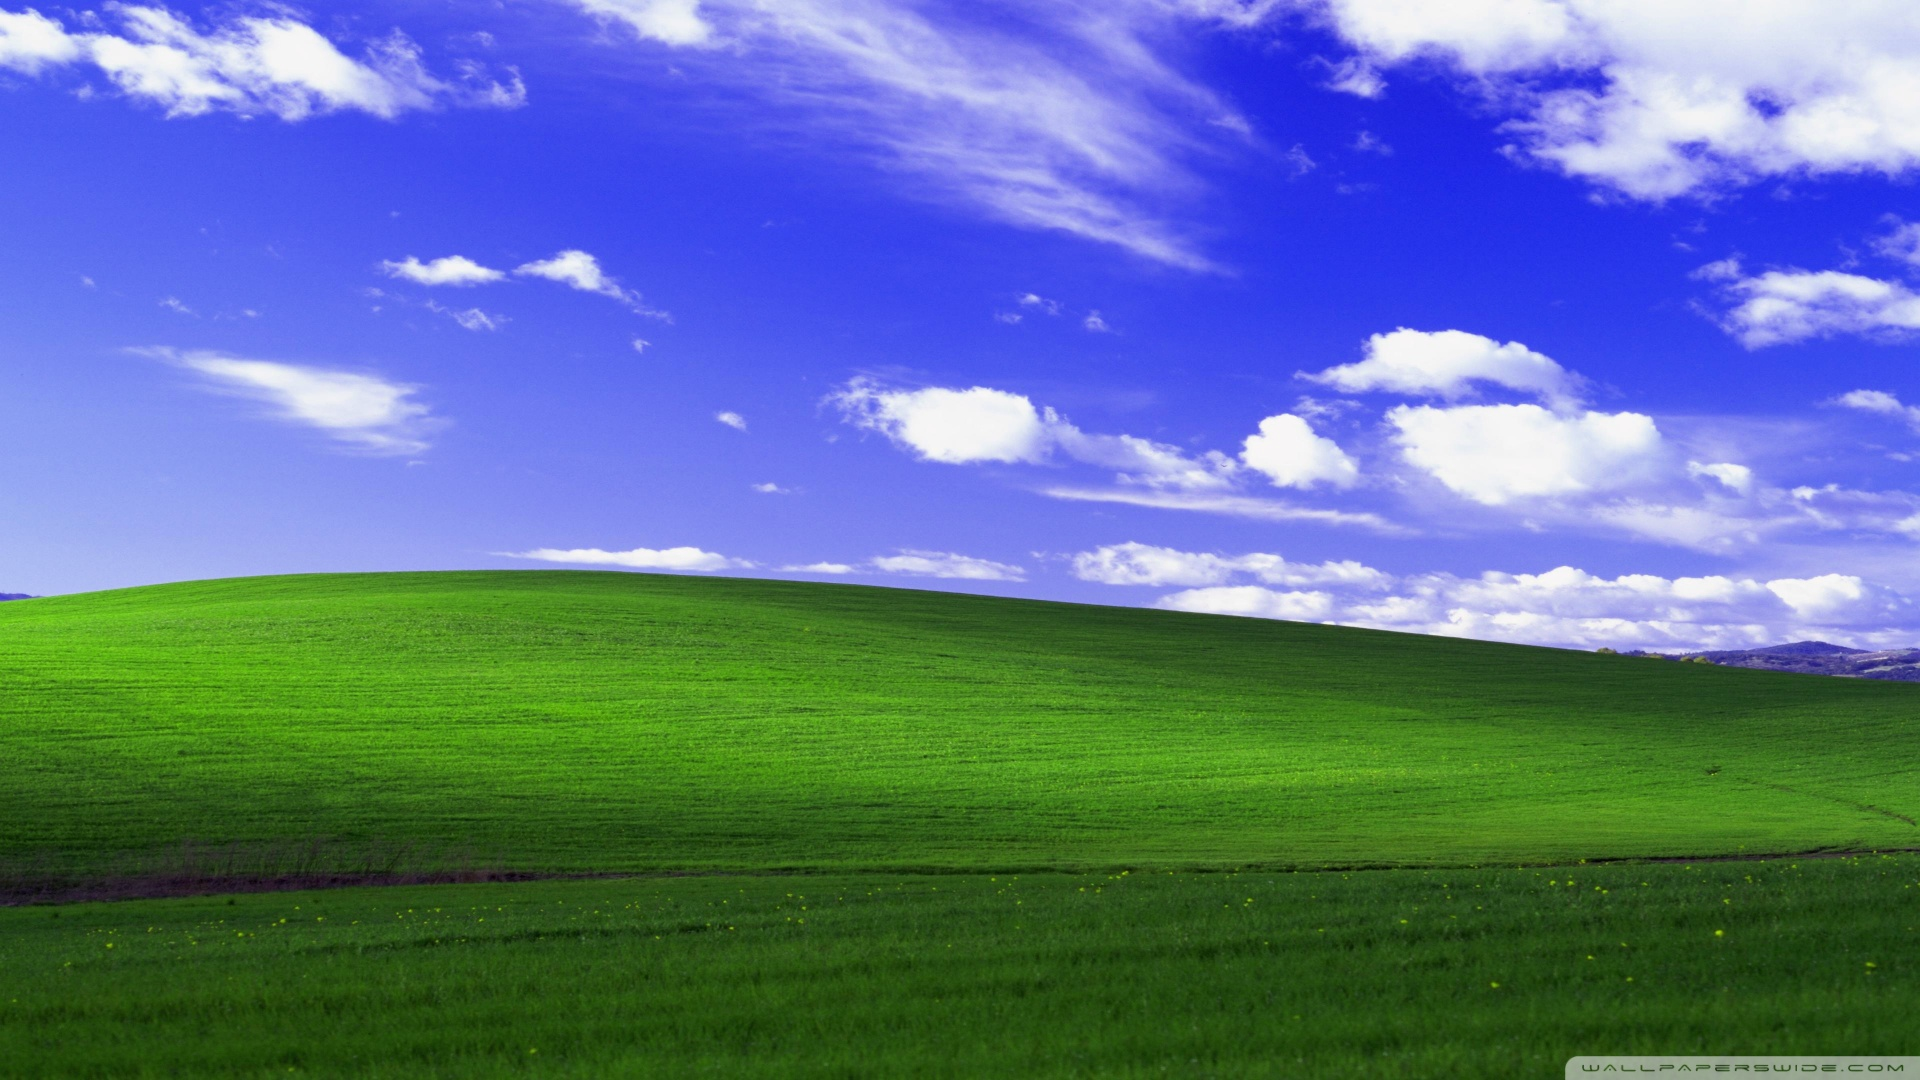
Example - Darken:

Right-click to download and compare in full size
Parameters:
image(Image): Image to adjust (modified in-place)factor(float): Brightness adjustment. Positive values brighten, negative values darken
Use for: Quick exposure adjustments, creating fade effects
Contrast
Adjusts image contrast relative to middle gray (0.5).
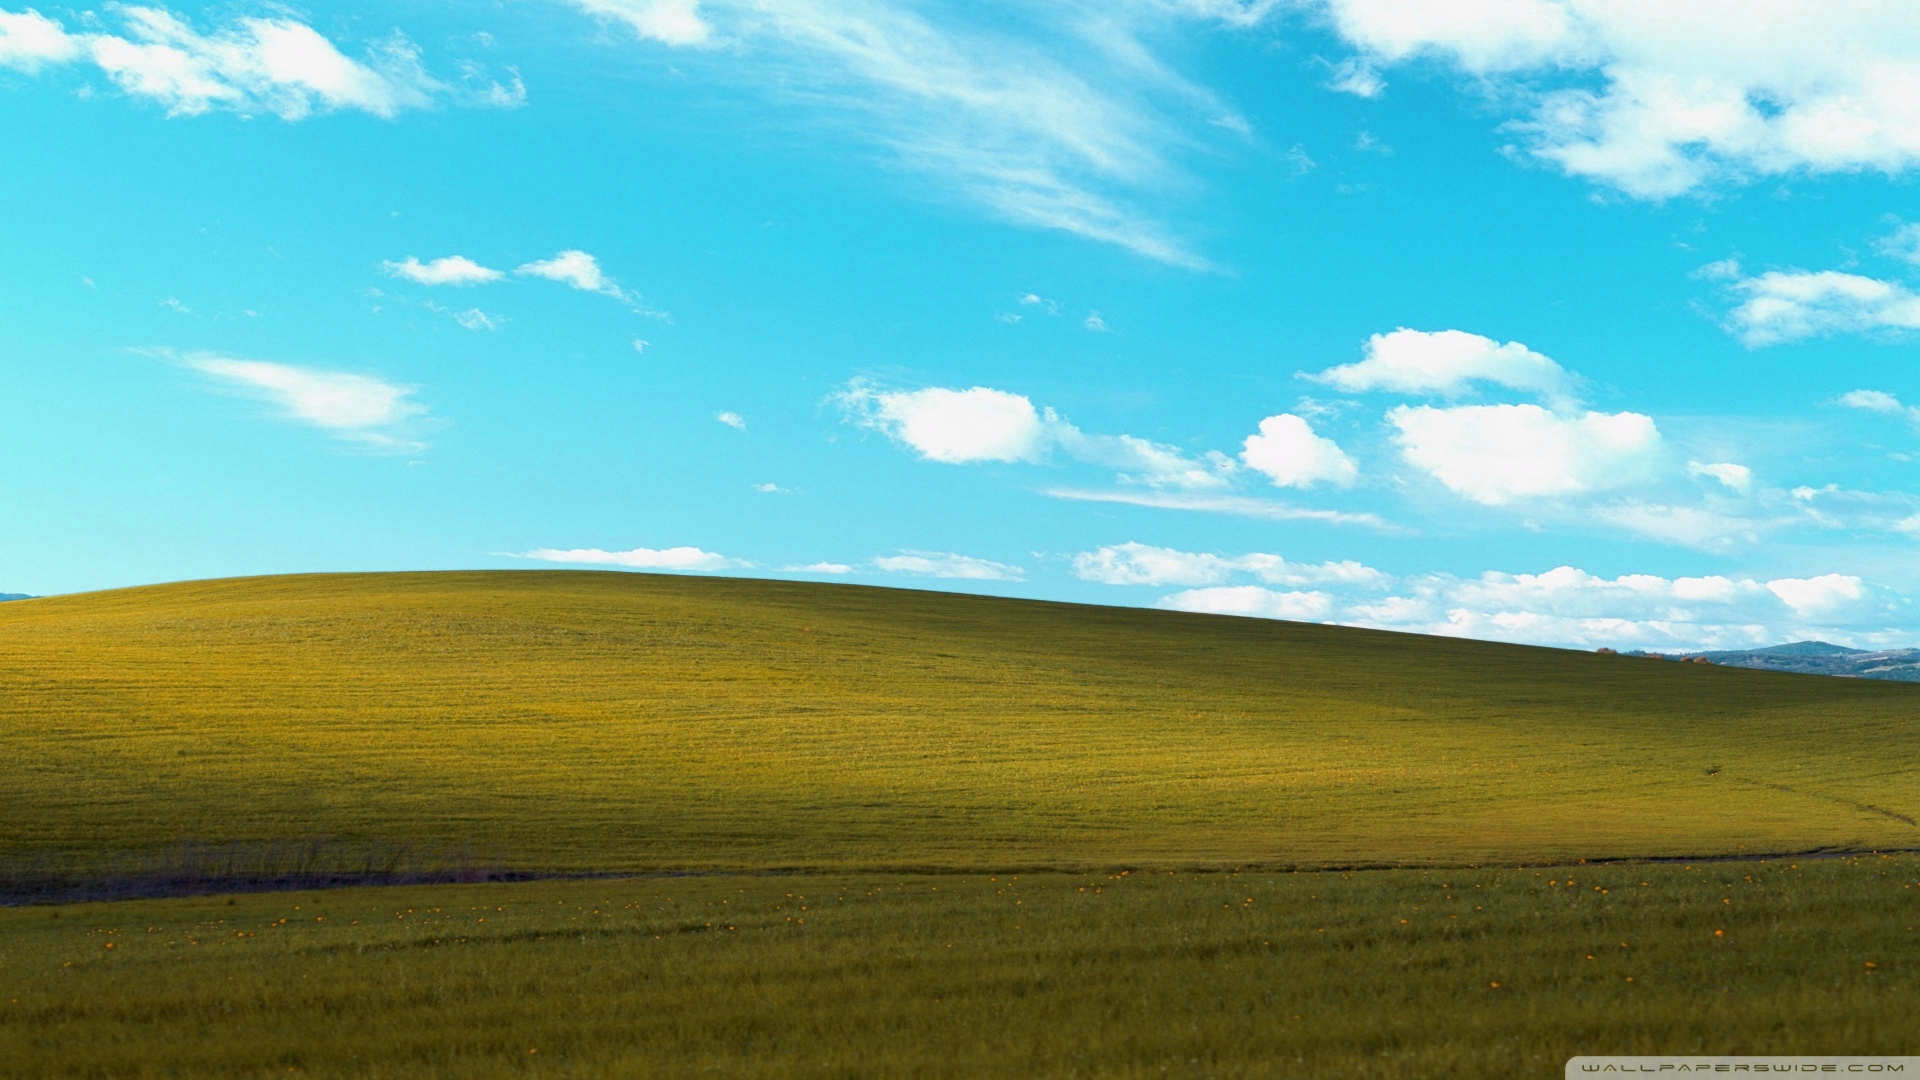
Example - Increase Contrast:
Right-click to download and compare in full size
Example - Decrease Contrast:

Right-click to download and compare in full size
Parameters:
image(Image): Image to adjust (modified in-place)factor(float): Contrast multiplierfactor > 1.0: Increases contrastfactor = 1.0: No changefactor < 1.0: Decreases contrast
Use for: Making images more punchy or creating washed-out effects
Saturation
Adjusts color intensity while preserving luminance.
Example - Increase Saturation:
Right-click to download and compare in full size
Example - Desaturate to Grayscale:
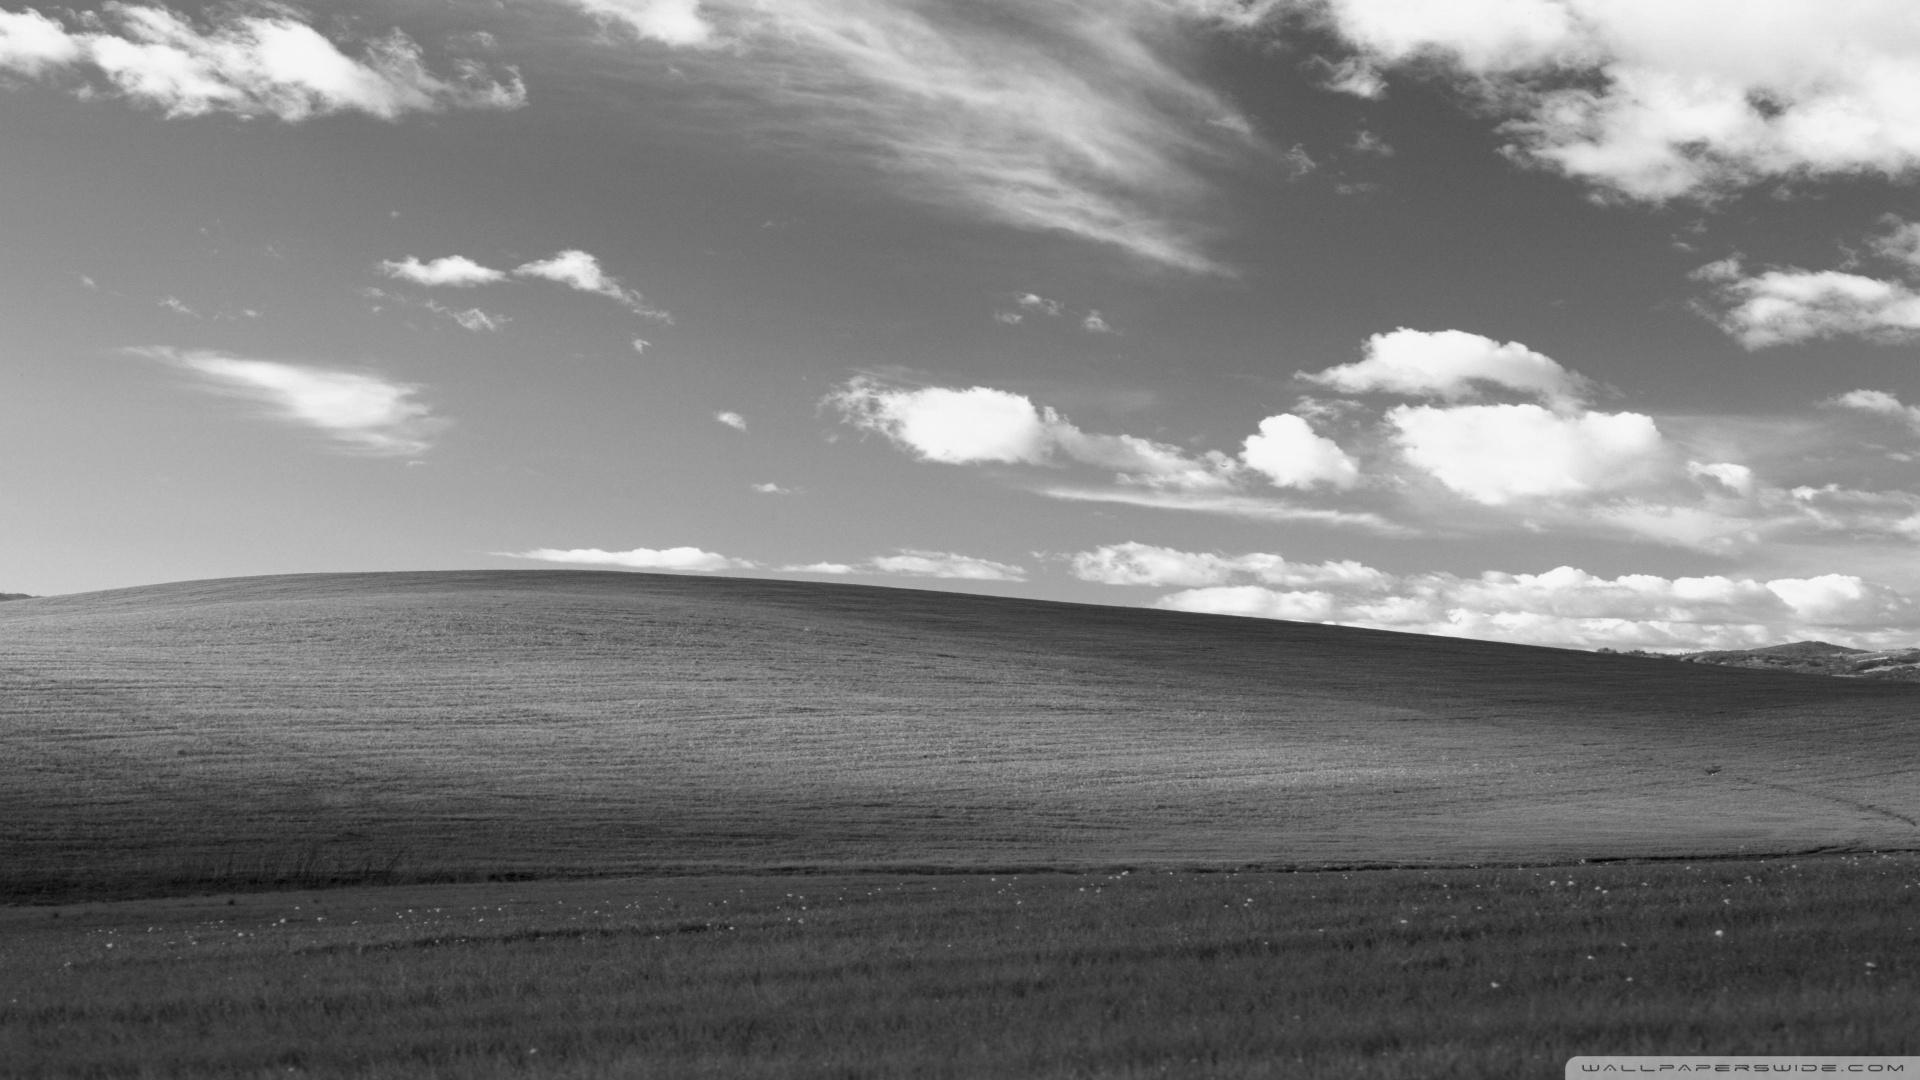
Right-click to download and compare in full size
Parameters:
image(Image): Image to adjust (modified in-place)factor(float): Saturation multiplierfactor = 0.0: Grayscalefactor = 1.0: Original colorsfactor > 1.0: More vibrant colors
Use for: Making colors pop, creating black and white images, subtle color grading
Gamma
Adjusts gamma correction (non-linear brightness). Unlike brightness, gamma affects midtones more than highlights or shadows.
Example - Brighten Midtones:
Right-click to download and compare in full size
Example - Darken Midtones:
Right-click to download and compare in full size
Parameters:
image(Image): Image to adjust (modified in-place)gamma(float): Gamma value (must be positive)gamma > 1.0: Brightens midtonesgamma = 1.0: No changegamma < 1.0: Darkens midtones
Use for: Lifting shadows without blowing out highlights, display calibration, color grading
Hue
Shifts all colors around the color wheel by rotating hue values in HSV color space.
Example - Warm Sunset Tone:
Right-click to download and compare in full size
Example - Cool/Cold Tone:
Right-click to download and compare in full size
Example - Complementary Colors:
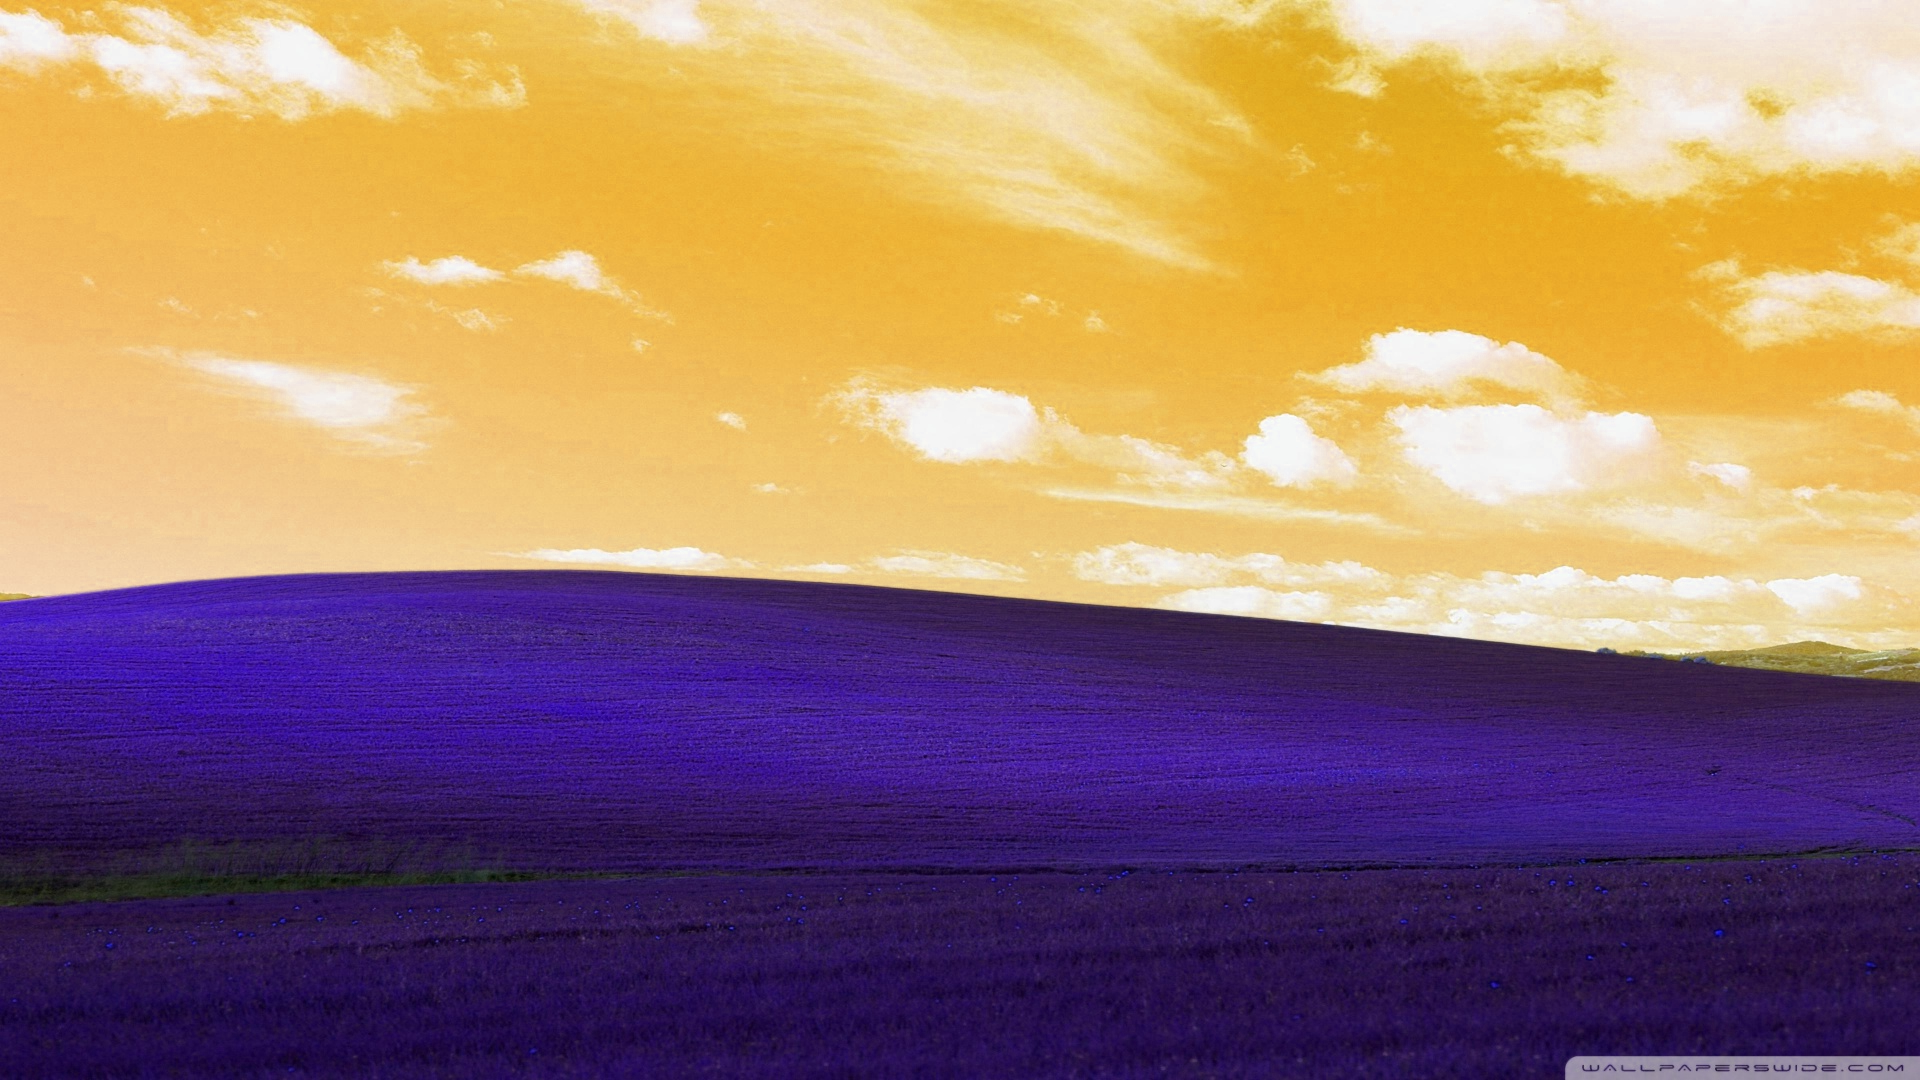
Right-click to download and compare in full size
Parameters:
image(Image): Image to adjust (modified in-place)degrees(float): Hue rotation in degreesdegrees = 0: No changedegrees = ±30: Subtle warm/cool shift (color correction)degrees = ±60-90: Noticeable color changedegrees = 120: Red → Green, Green → Blue, Blue → Reddegrees = 180: Complementary colors (opposite on color wheel)degrees = 360: Full rotation (same as 0)
Use for:
- Color correction: Fix white balance issues (±10-30°)
- Creative effects: Transform entire color palette
- Branding: Change product/logo colors globally
- Season simulation: Summer → Autumn (shift towards orange/red)
- Artistic filters: Psychedelic, vintage, or surreal color schemes
Note: Hue shift preserves brightness and saturation. Black, white, and gray pixels remain unchanged since they have no hue.
Vibrance
Smart saturation that protects already-saturated colors, especially skin tones.
Example - Portrait Enhancement:

Right-click to download and compare in full size
Example - Landscape:
Right-click to download and compare in full size
Parameters:
image(Image): Image to adjust (modified in-place)amount(float): Vibrance adjustment (-1.0 to 1.0)amount = -0.5: Subtle desaturationamount = 0.0: No changeamount = 0.4: Recommended for portraitsamount = 0.8: Strong boost for landscapes
Use for: Enhancing colors without oversaturating skin tones, product photography, natural-looking color boosts
Saturation vs Vibrance
Saturation boosts all colors equally: - Red skin becomes orange - Already vibrant colors can clip
Vibrance is selective: - Protects already-saturated colors (skin tones) - Boosts muted colors more - Natural-looking results
Example comparison:
from pyimagecuda import load, Adjust, save

# Saturation: Can oversaturate skin
img1 = load("portrait.jpg")
Adjust.saturation(img1, 1.5)
save(img1, 'saturated.jpg')

# Vibrance: Protects skin tones
img2 = load("portrait.jpg")
Adjust.vibrance(img2, 0.5)
save(img2, 'vibrant.jpg')
Opacity
Adjusts image opacity by multiplying the alpha channel.
Example - Semi-Transparent:

Right-click to download and compare in full size
Example - Subtle Fade:
Right-click to download and compare in full size
Parameters:
image(Image): Image to adjust (modified in-place)factor(float): Opacity multiplierfactor = 0.0: Fully transparentfactor = 1.0: No change (original opacity)factor > 1.0: Increases opacity (can exceed 1.0 for pixels with alpha < 1.0)
Use for: Creating fade effects, watermarks, layering with transparency, ghost/overlay effects
Note: This operation multiplies the existing alpha channel. If the image has no alpha channel or alpha is already 1.0, values > 1.0 will have no visible effect.
Combining Adjustments
All adjustments can be chained since they modify in-place:
Example:
from pyimagecuda import load, Adjust, save

img = load("photo.jpg")

# Apply multiple adjustments
Adjust.brightness(img, 0.1)
Adjust.contrast(img, 1.2)
Adjust.saturation(img, 1.3)

save(img, 'output.jpg')
Brightness vs Gamma
Brightness adds a constant value: - Affects all pixels equally - Can wash out highlights - Good for simple exposure fixes
Gamma applies a curve: - Affects midtones more than extremes - Preserves highlight and shadow detail - Better for lifting underexposed images
Example comparison: